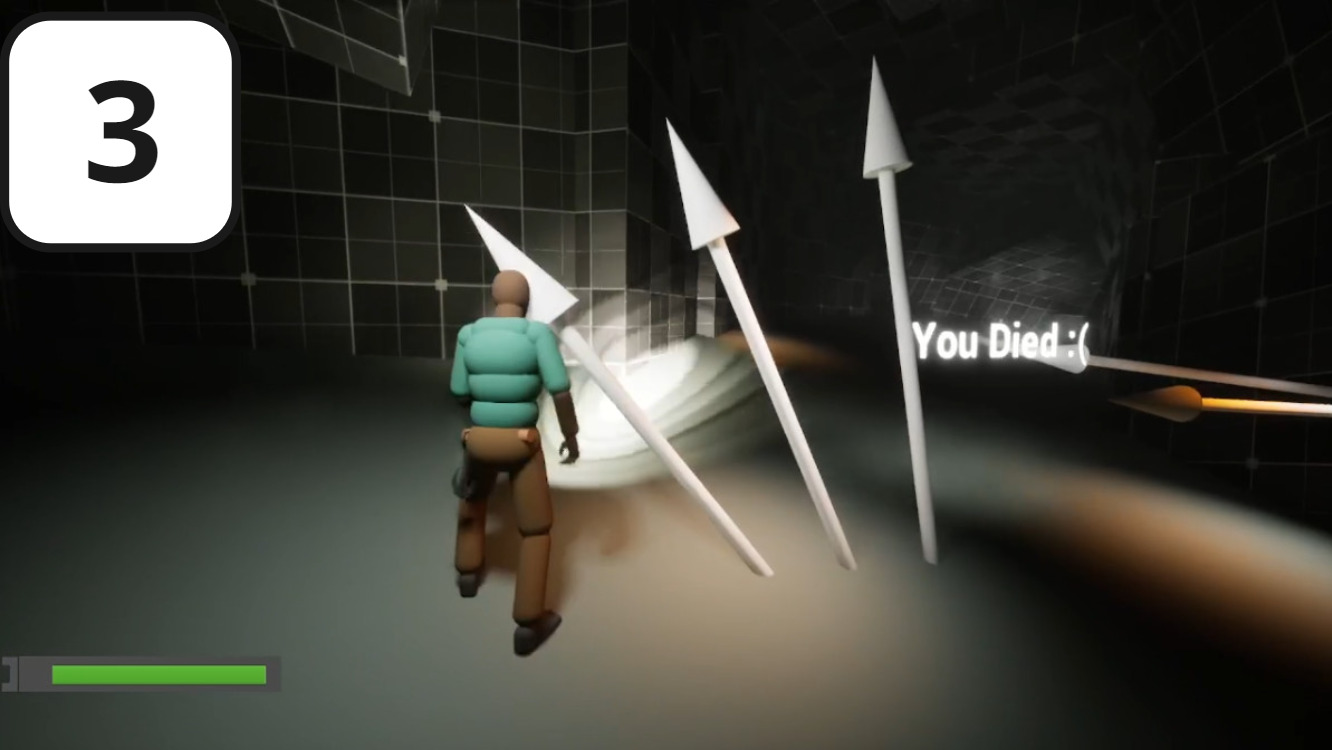
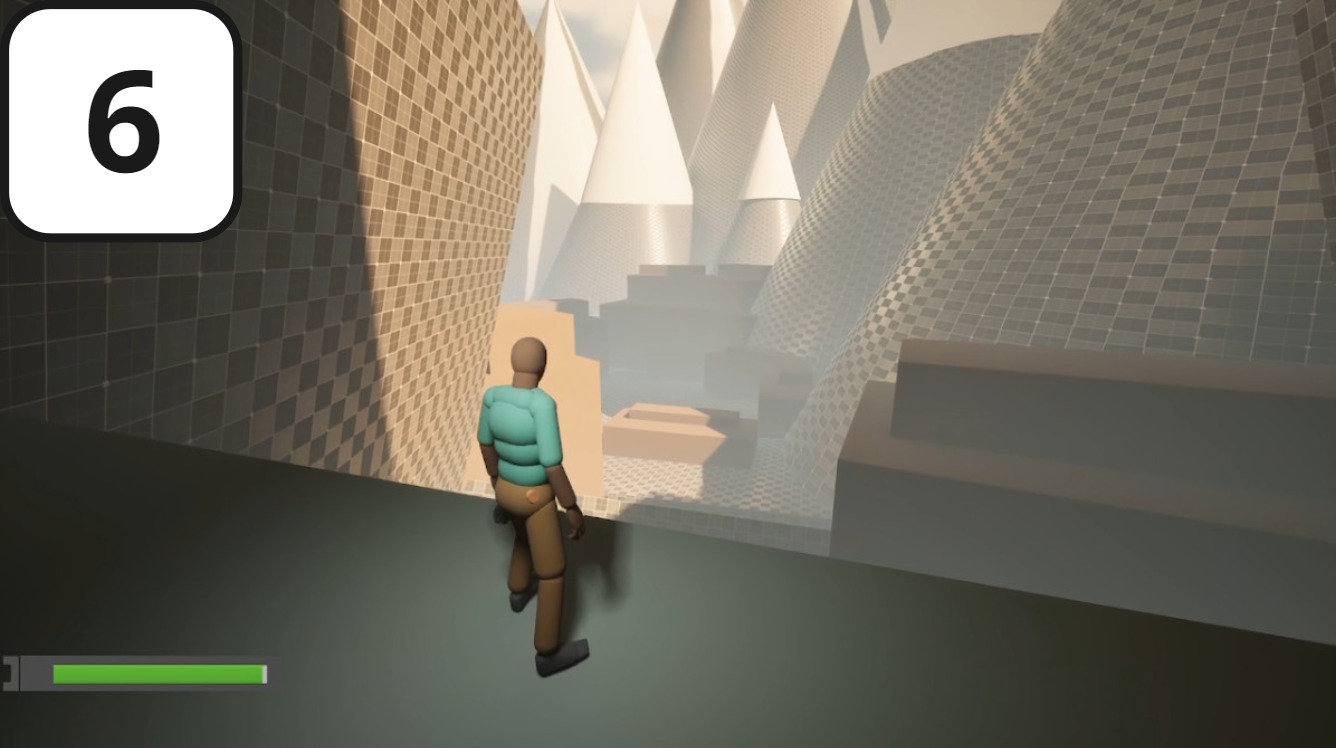
Vault of the Vanished

Skip to...

Goal

Design a polished, Uncharted-style 3D action-adventure level with:

  • A satisfying gameplay pace
  • Traversal challenges as a primary focus
  • Evolving puzzle elements

Additionally, practice in-depth preproduction and feedback driven iteration to ensure a quality player experience.

I’ve always been drawn to the thrill and storytelling of action-adventure games. Classics like the Uncharted series have inspired me to create a level in that style.


I discovered the 3D Action and Adventure level design bootcamp by Nathan Kellman (Diablo IV, Mafia: The Old Country, Mantra) and the Funsmith Club, I was excited to join to expand my skillset and learn new processes and techniques for designing 3D adventure levels.


My goal was to build a polished 3D adventure level in the style of the Uncharted series‘ mountaineering levels. For this, I focused on building a block out of a linear underground cave. I wanted to challenge myself to create a space that feels cinematic and well-paced, capturing that blend of traversal, exploration, and puzzle-solving those games are known for.

Additionally, I used this project as an opportunity to practice an organized preproduction workflow and feedback-driven iterative process; where I have a number of peers and mentors give constructive feedback on each iteration.

Level Overview and Highlights

Setting: Underground Cave-ruin located inside a mountain.

Tone and Mood: Ancient, Mystery, Uninviting.

Synopsis:

After a perilous climb, the player enters an ancient village and discovers a tomb leading to a vast vault hiding a mysterious threat.

Constraints:

  • Engine: Unreal Engine 5
  • Perspective: First-person (FPS)
  • Platform: PC
  • 8wk Time Frame


Design Pillars:

  • Traversal – Grounded parkour adventure mechanics structured around organic environmental structures

  • Reactivity – Ensure the ancient, untouched environment reacts to the players presence

  • Tutorial – Give the player safe spaces to try out different mechanics to familiarize themselves with the gameplay

Highlights of the level

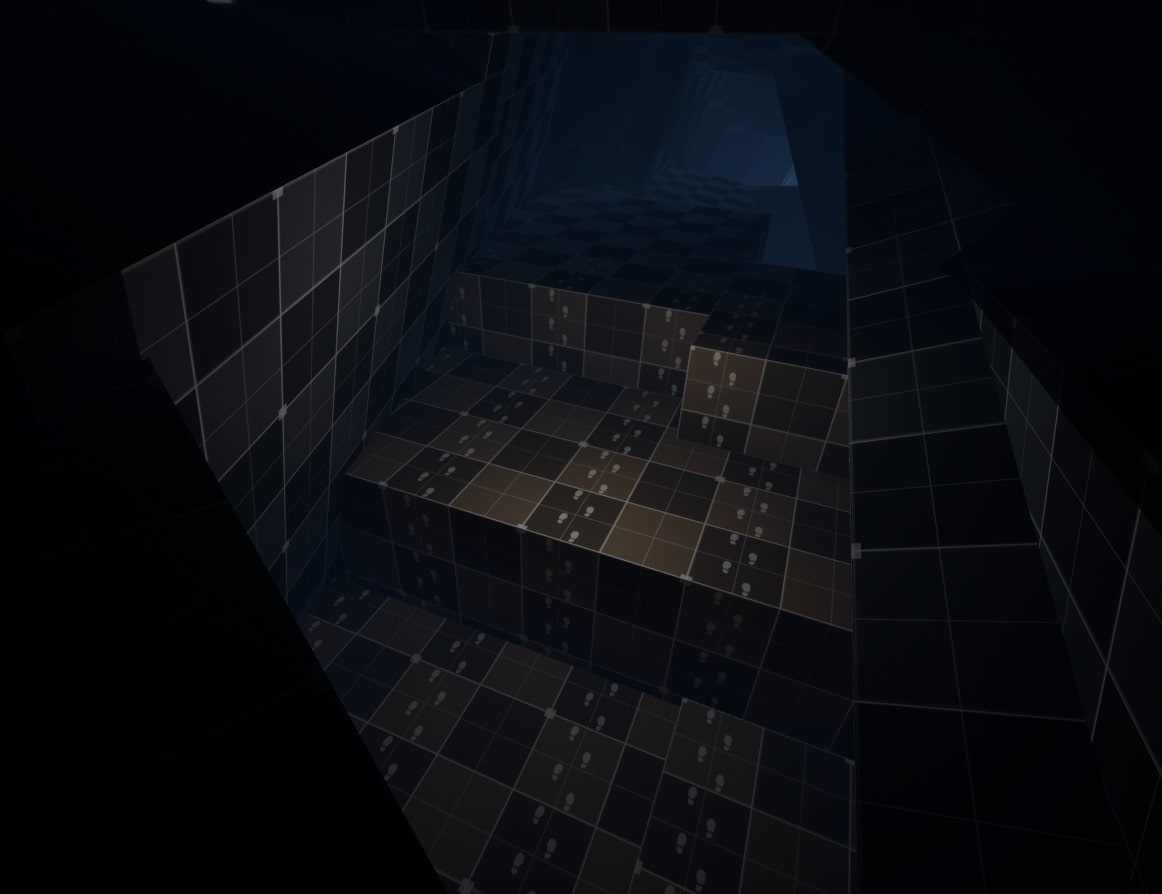
Entering the Tomb: Traversal & Introductory Area

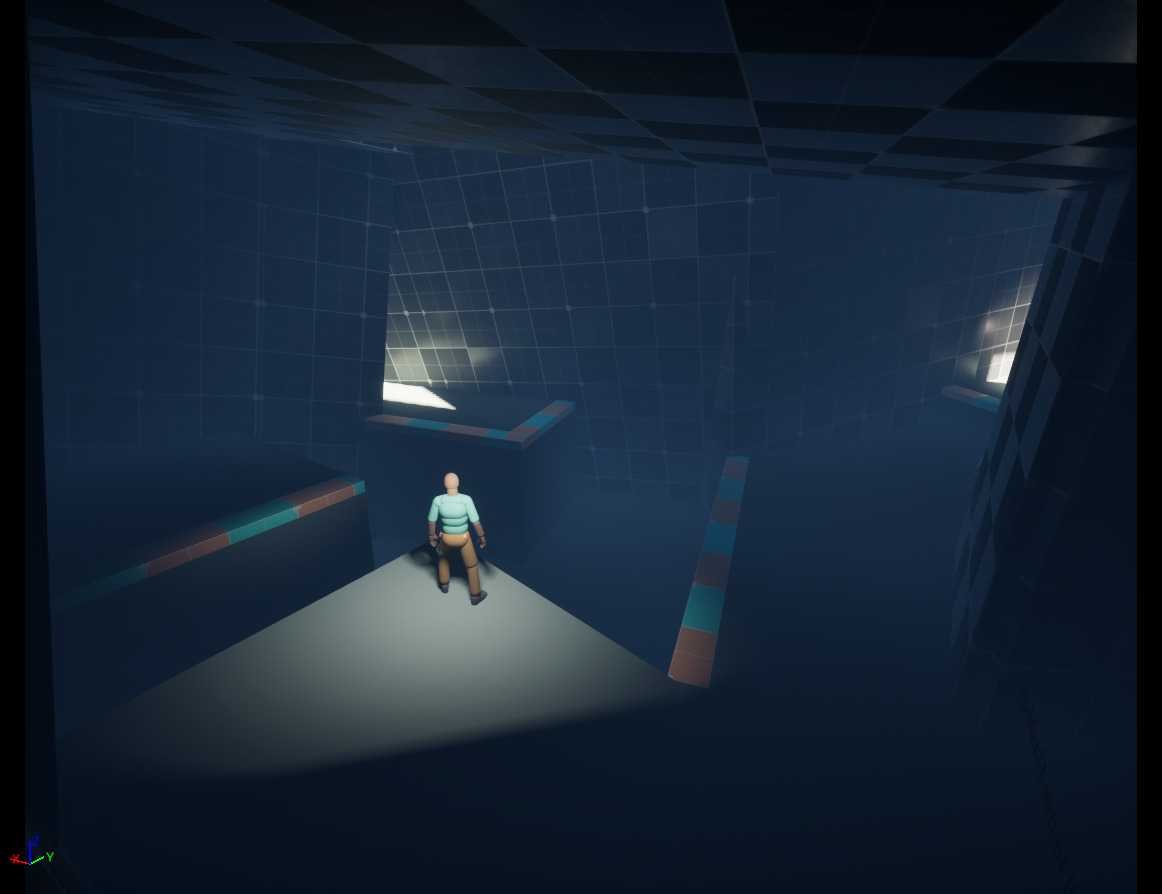
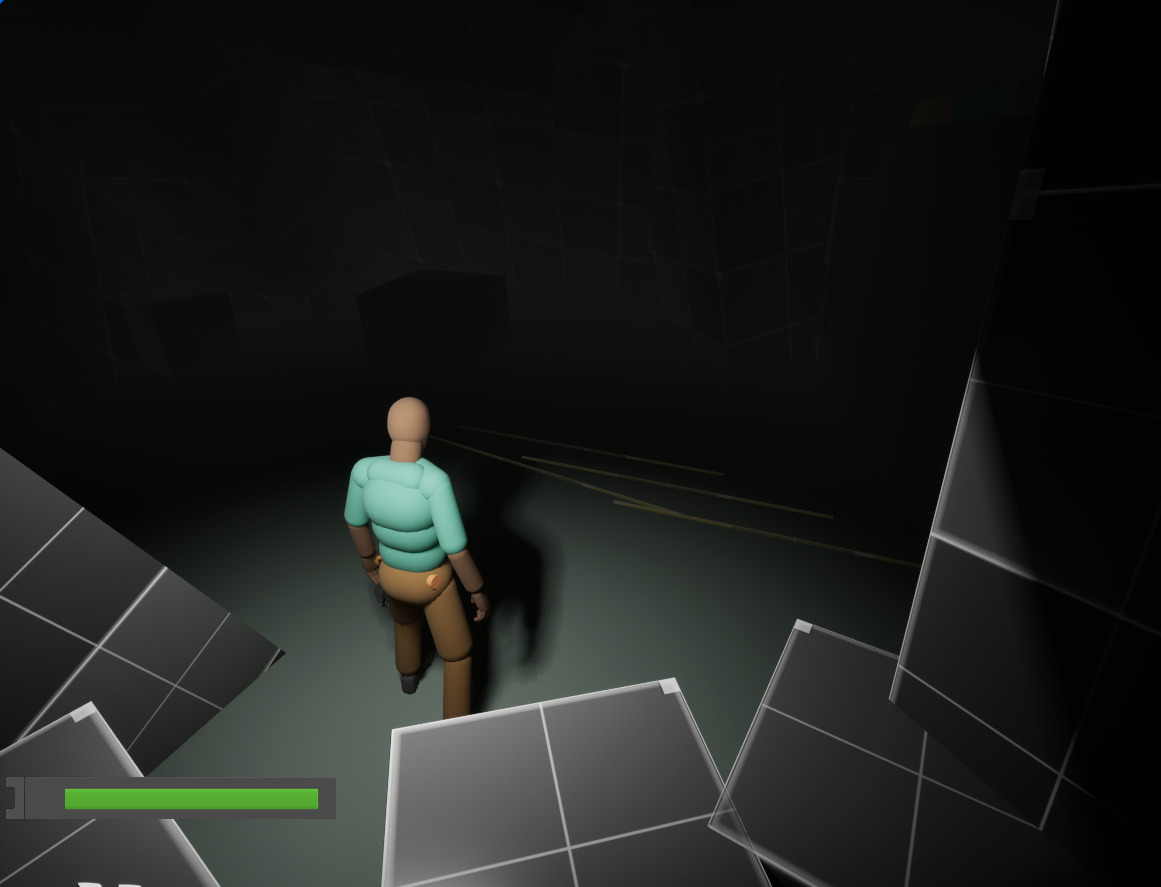
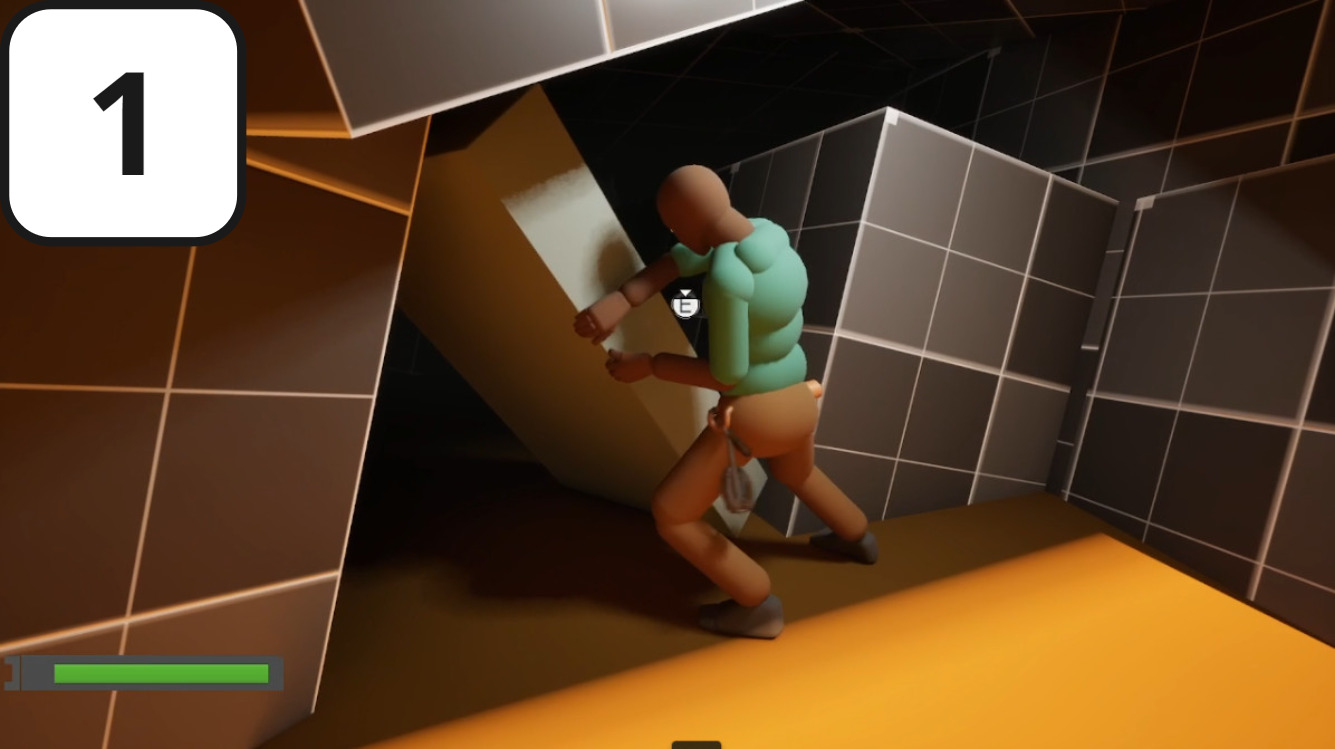
This level begins set in between levels of the game. Shortly after entering, the only exit is blocked. In a darkened environment the only way is forward.

The start offers a slow buildup of obstacles to gradually teach the game mechanics. This takes place in tight wall-to-wall corridors to settle the player into an early sense of tension.

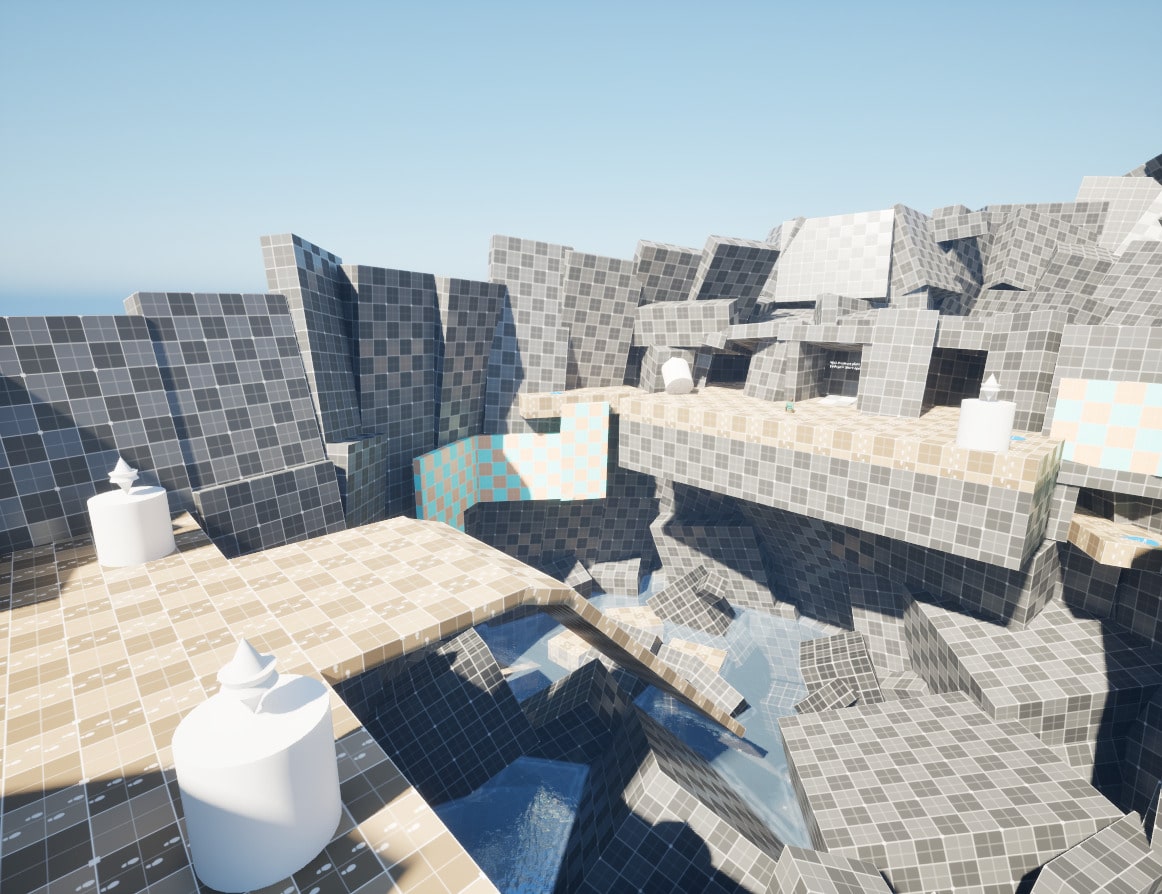
Bridge Collapse: Traversal & Narrative Area

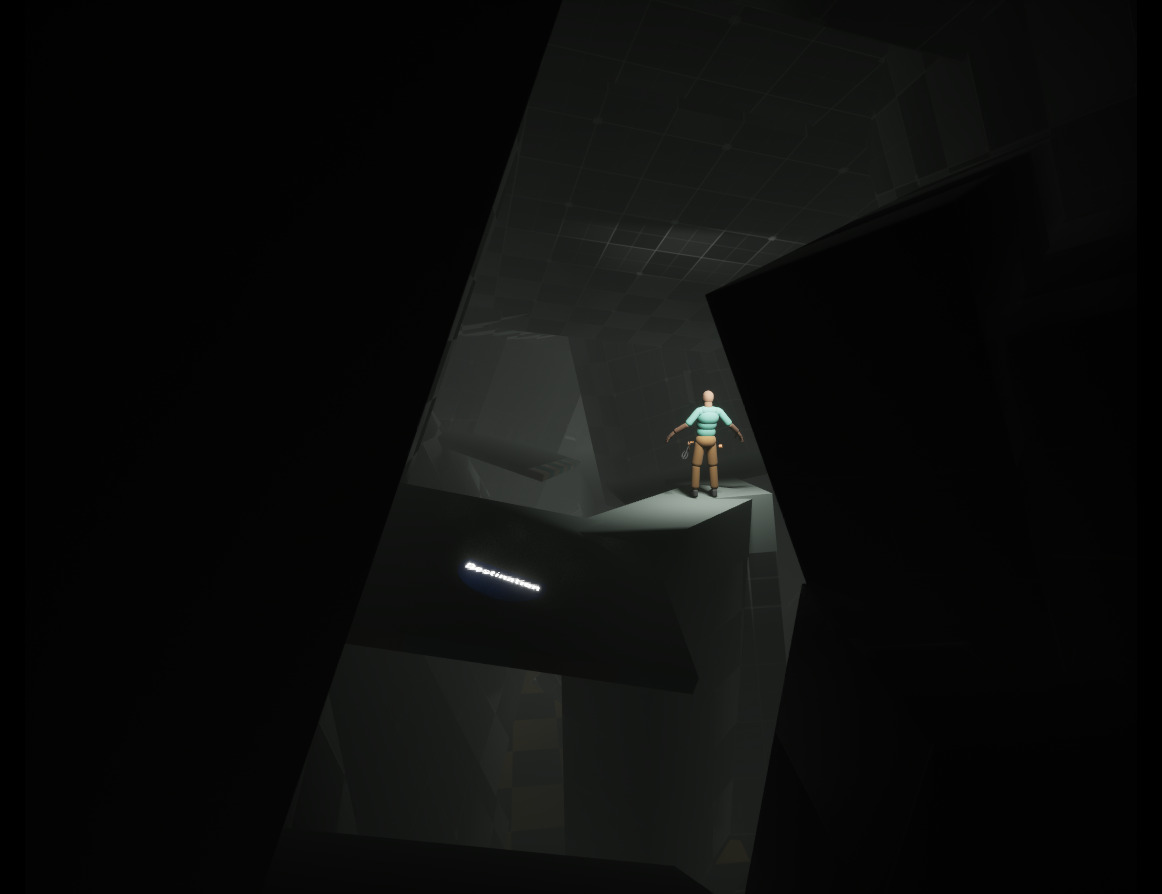
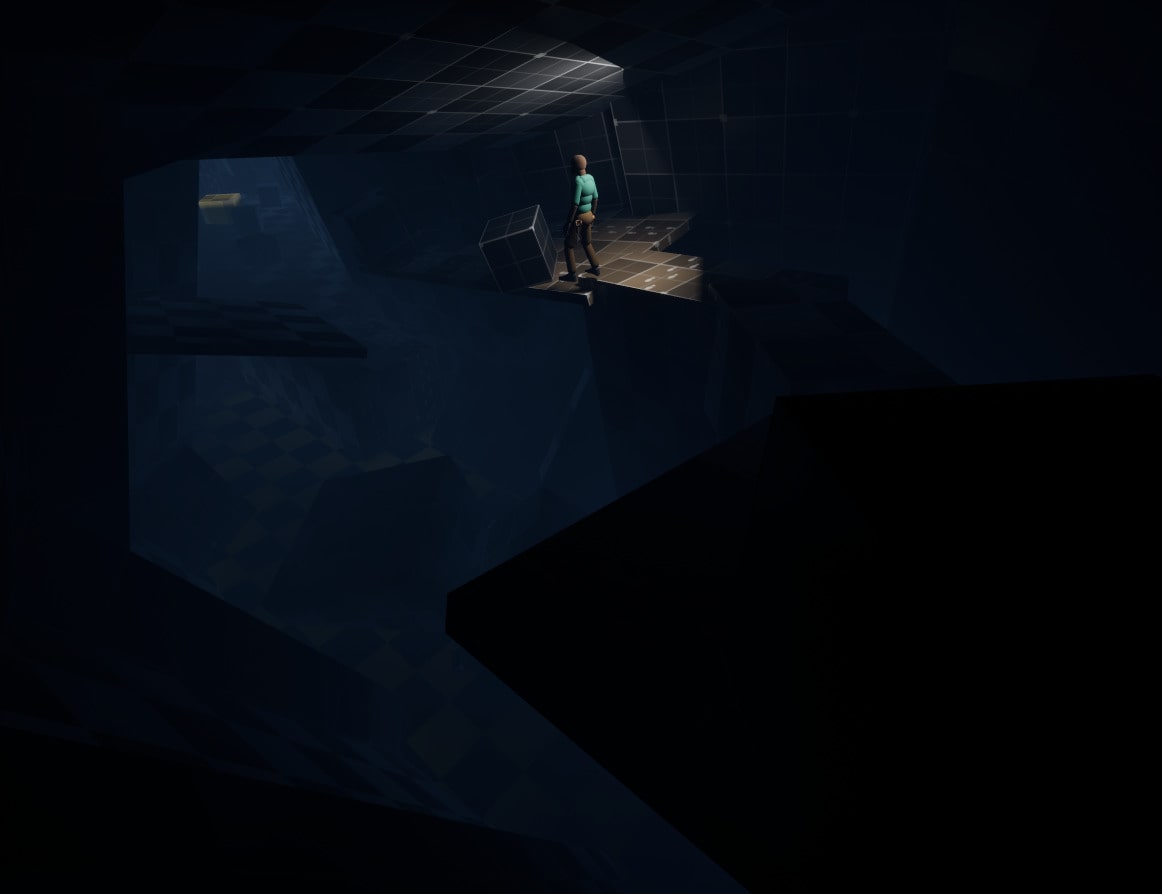
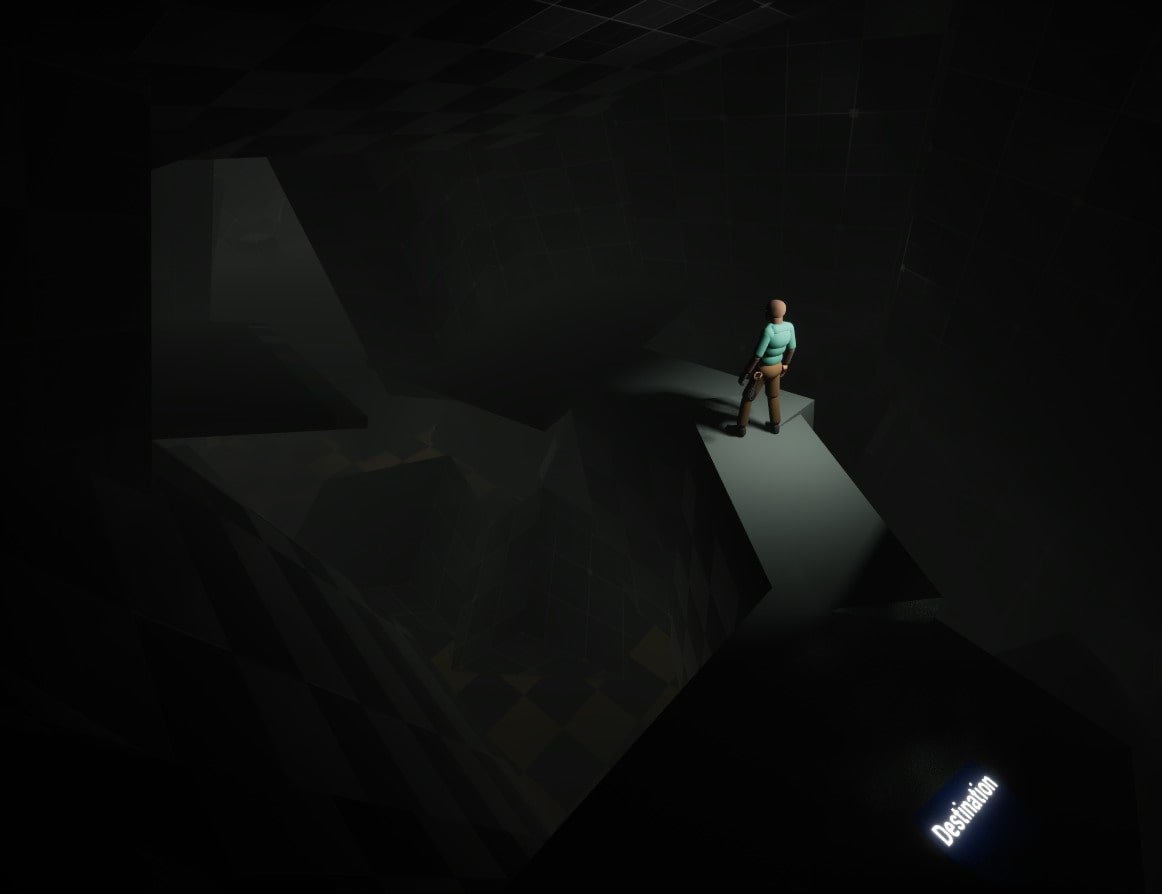
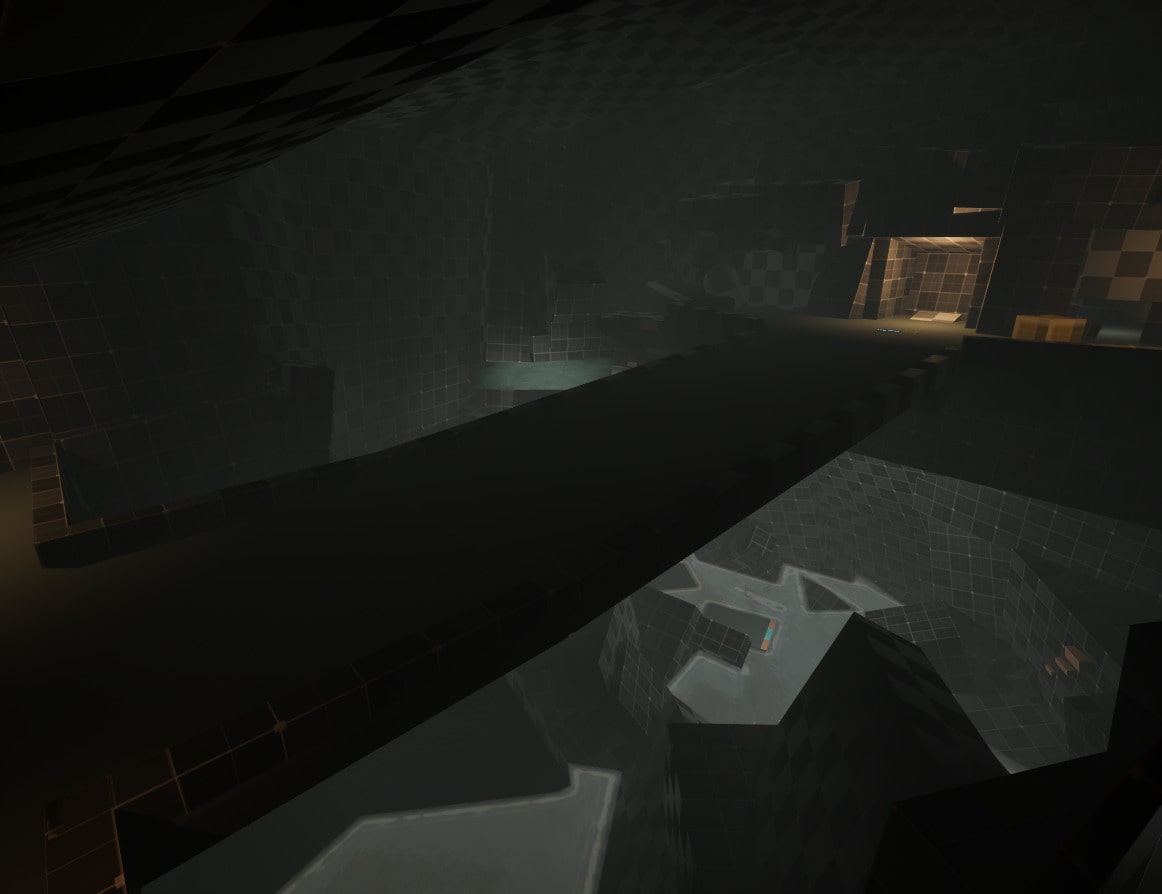
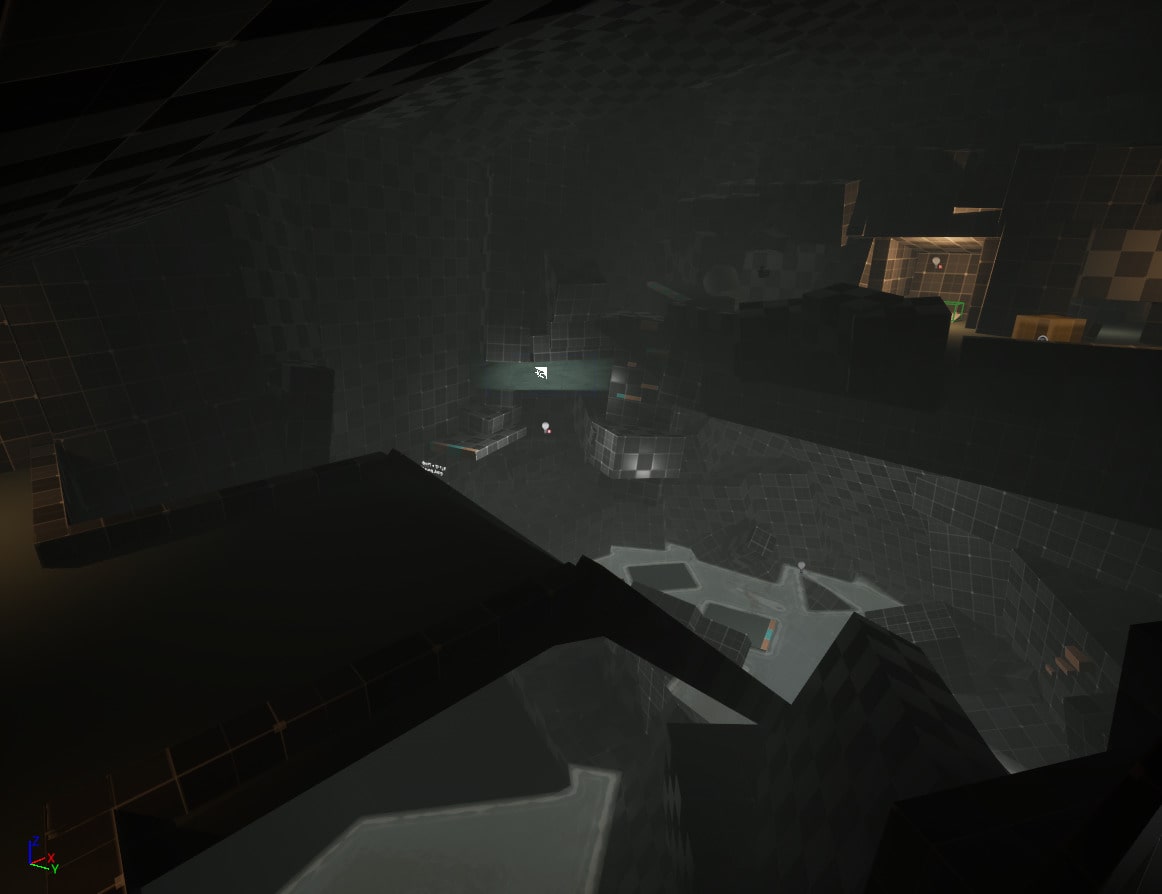
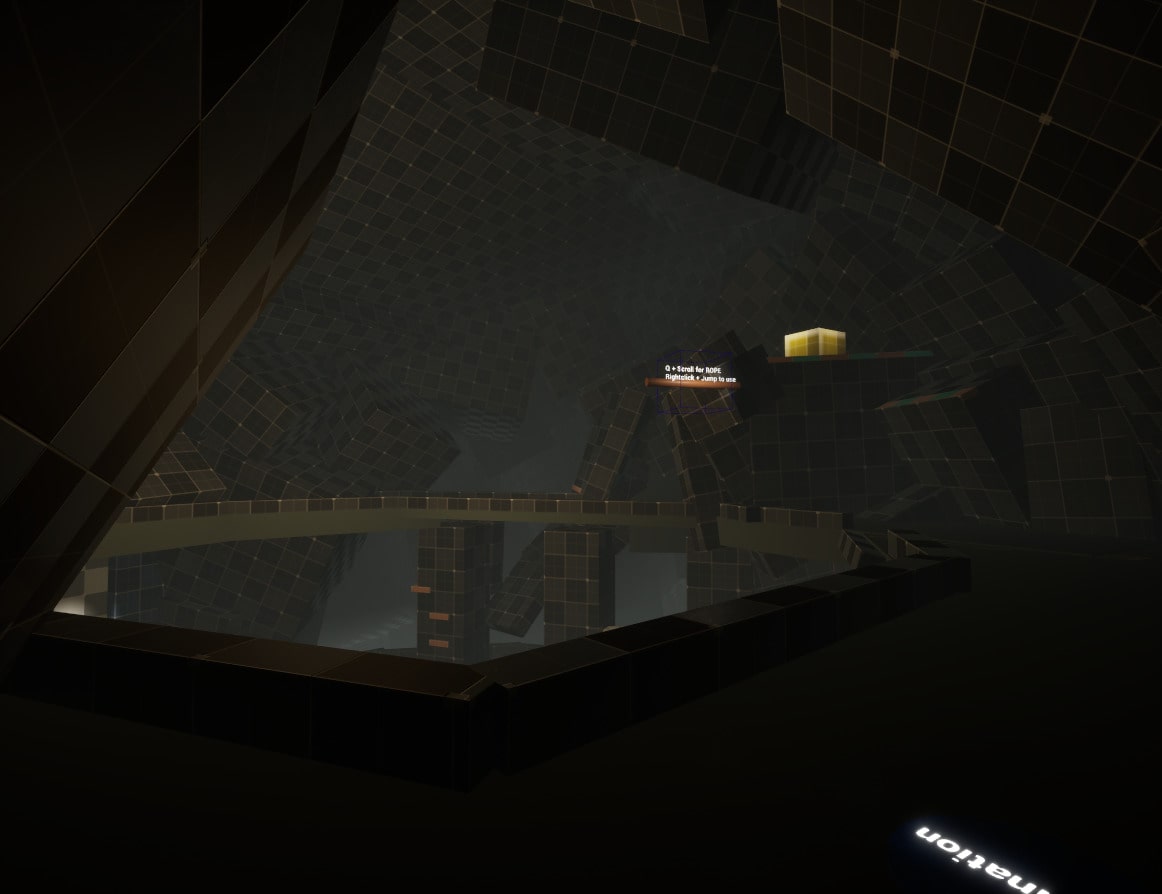
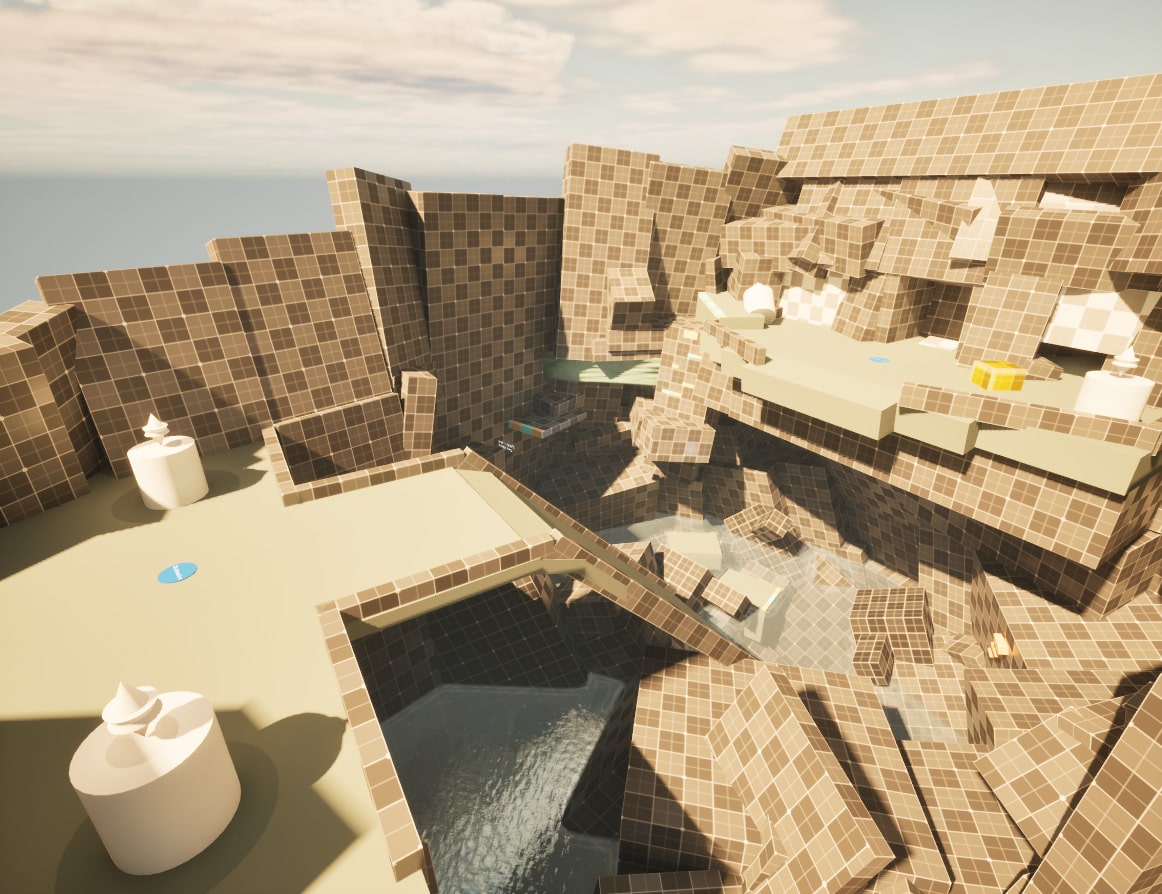
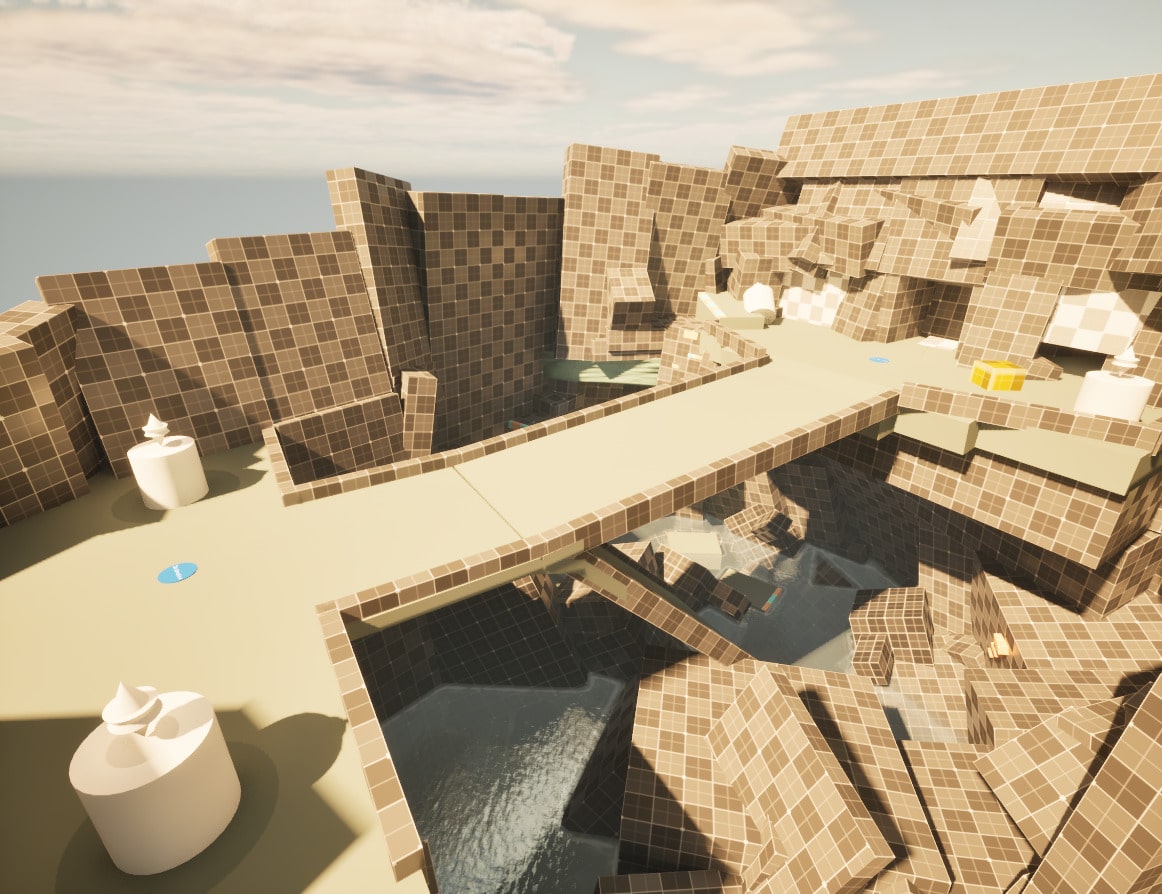
The player approaches a wide opening with a large gap to the other side. An ancient stone bridge crosses that gap. The bridge collapses as the player walks across.

  • This event heightens the environments danger and temporarily spikes the levels tension
  • Evolves the previously taught mechanics
    • Advanced climbing and traversal
    • Adds a use case for the push block

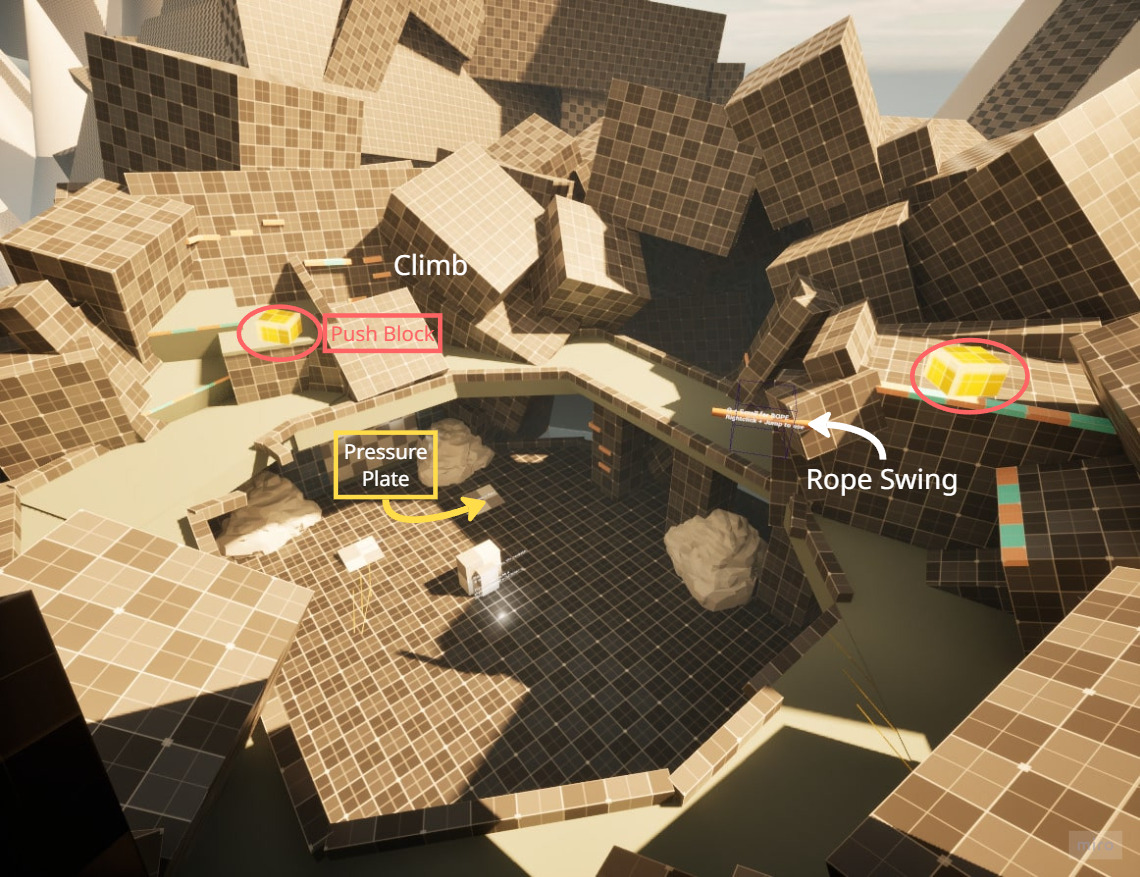
Artifact Room: Puzzle & Traversal Area

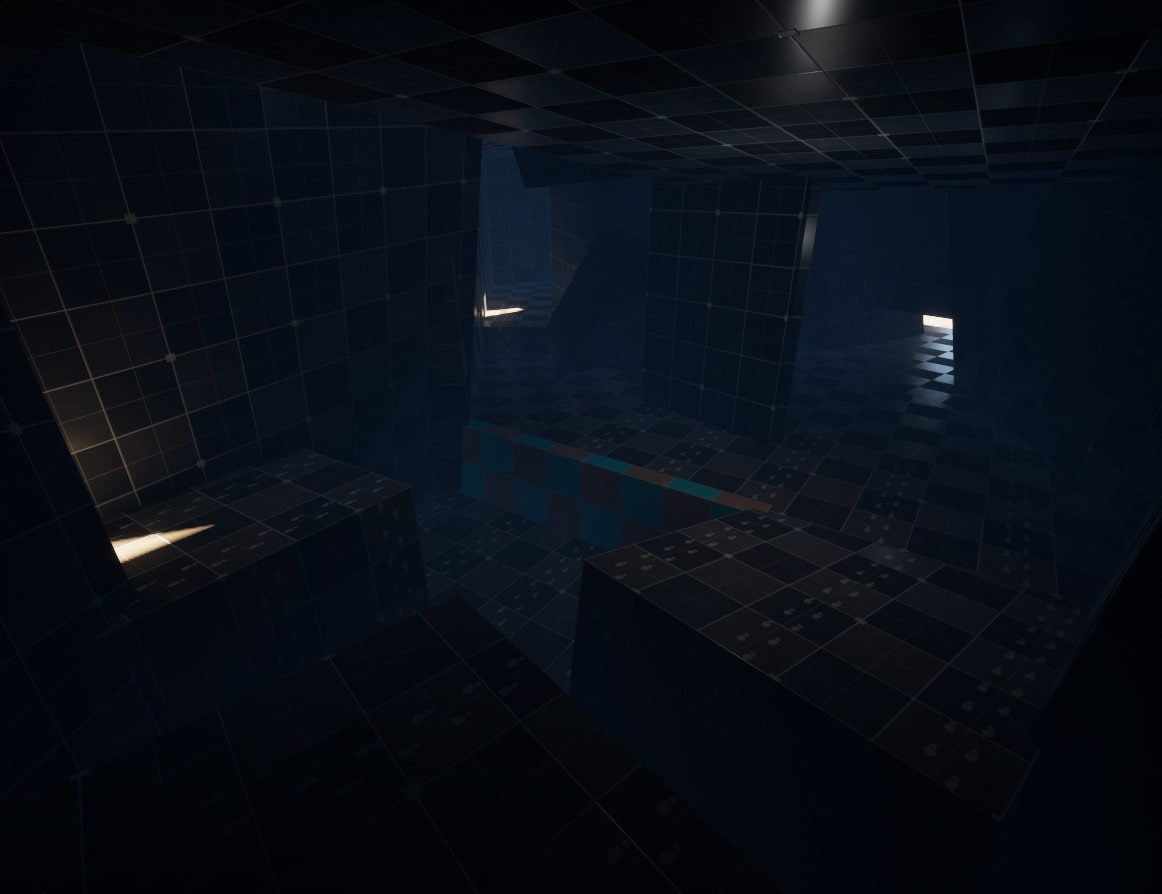
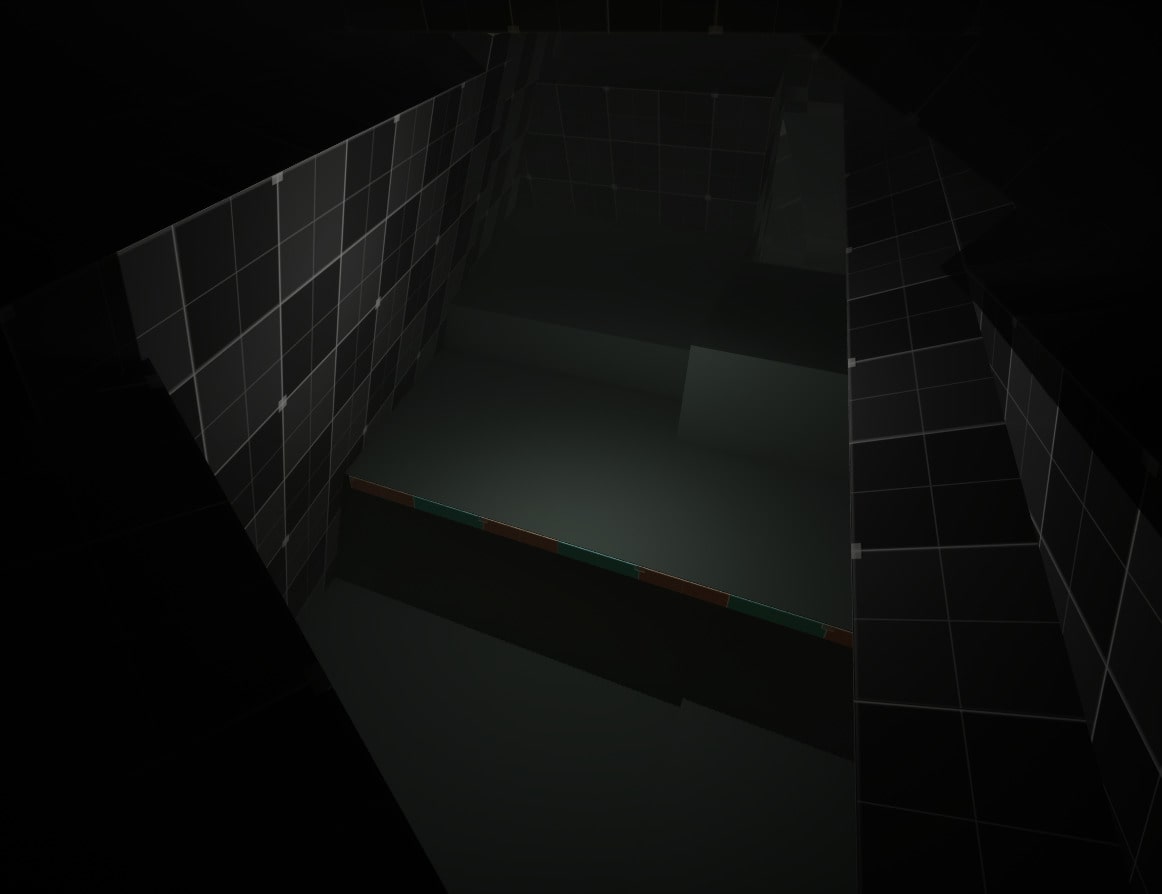
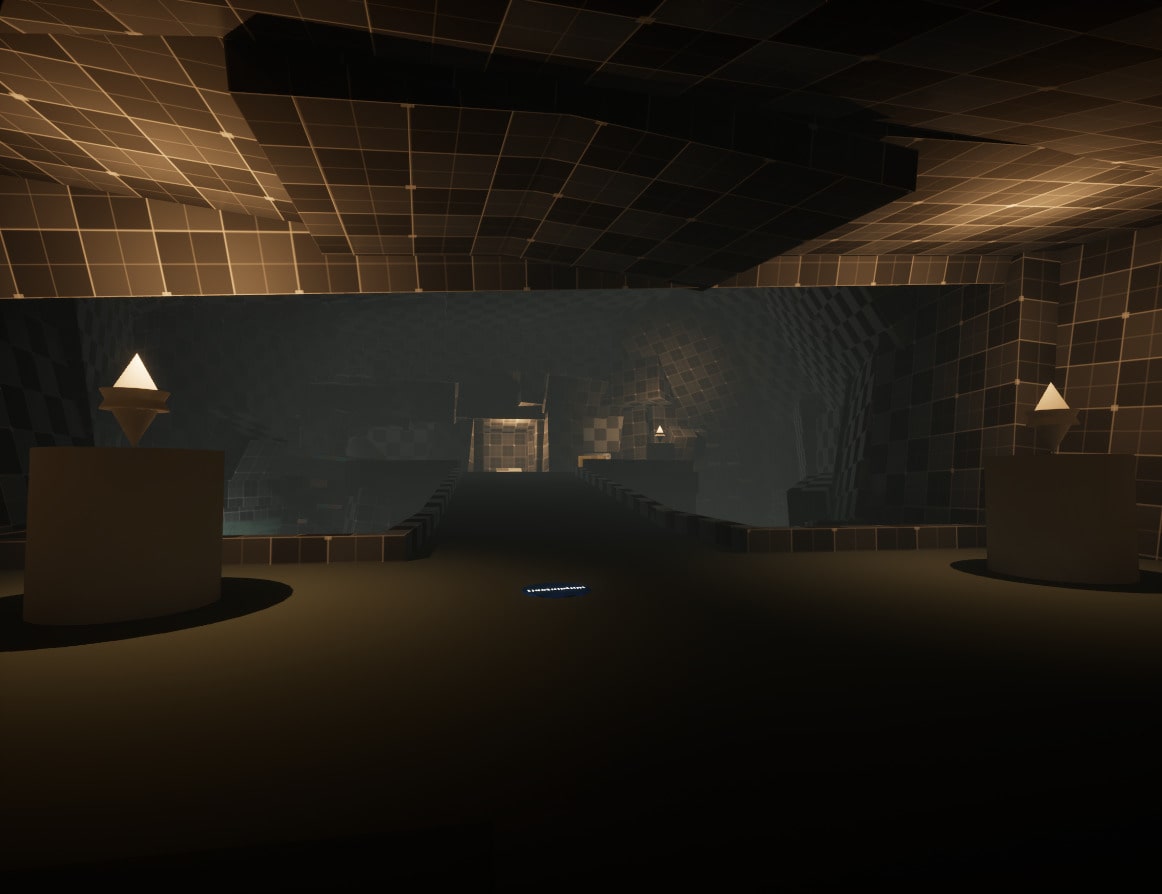
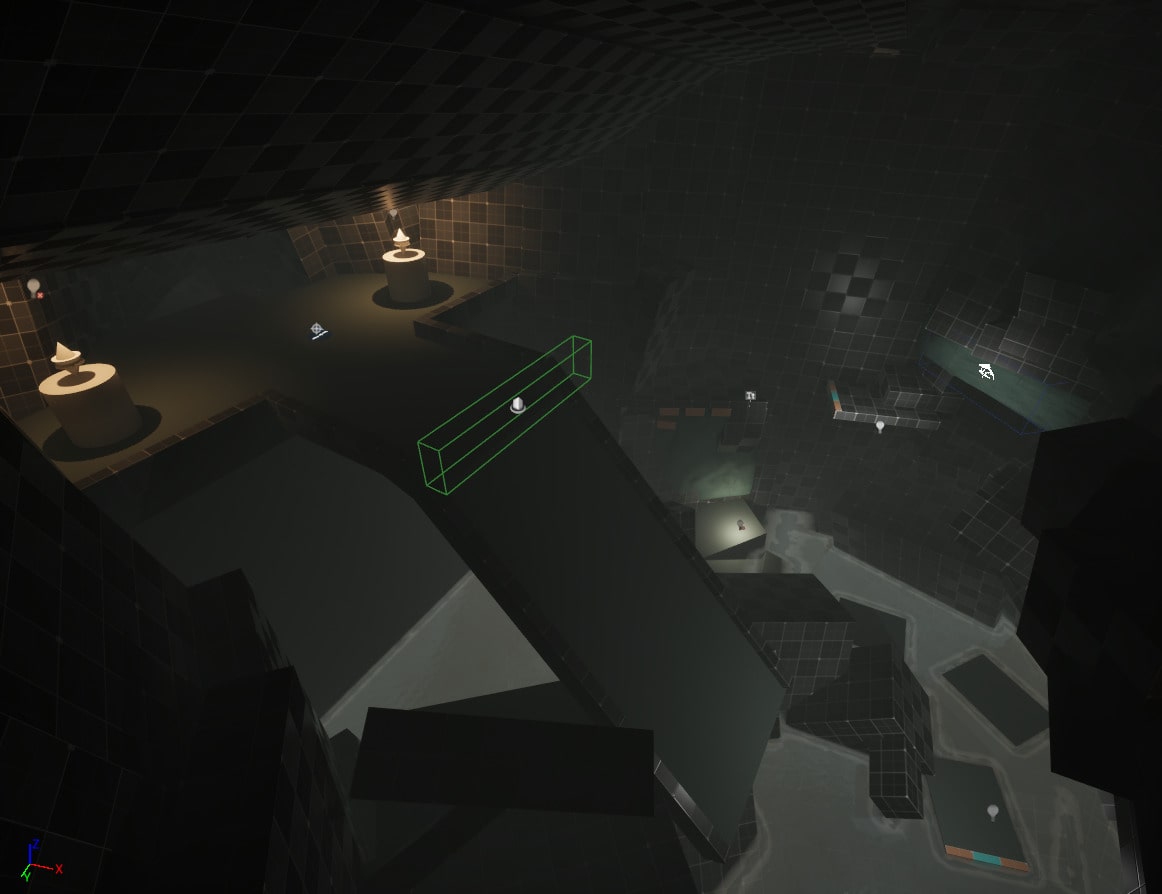
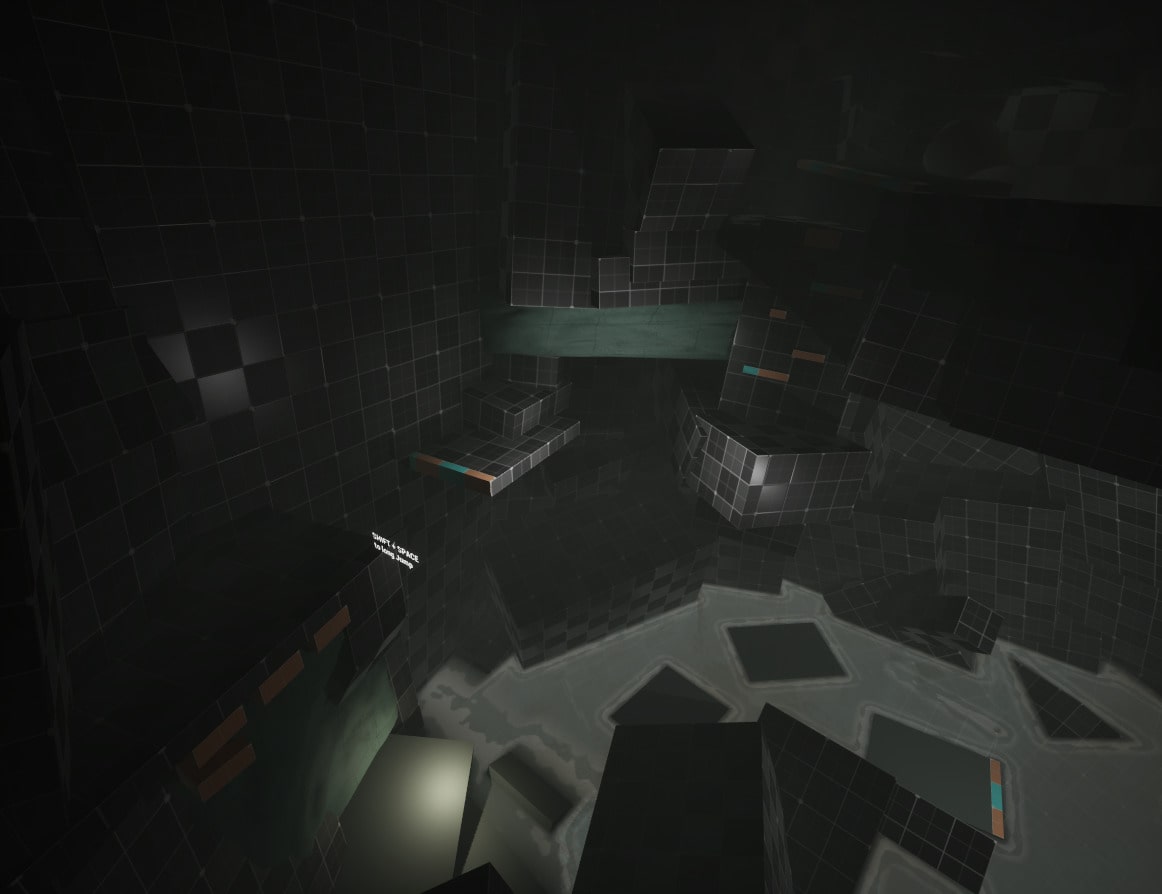
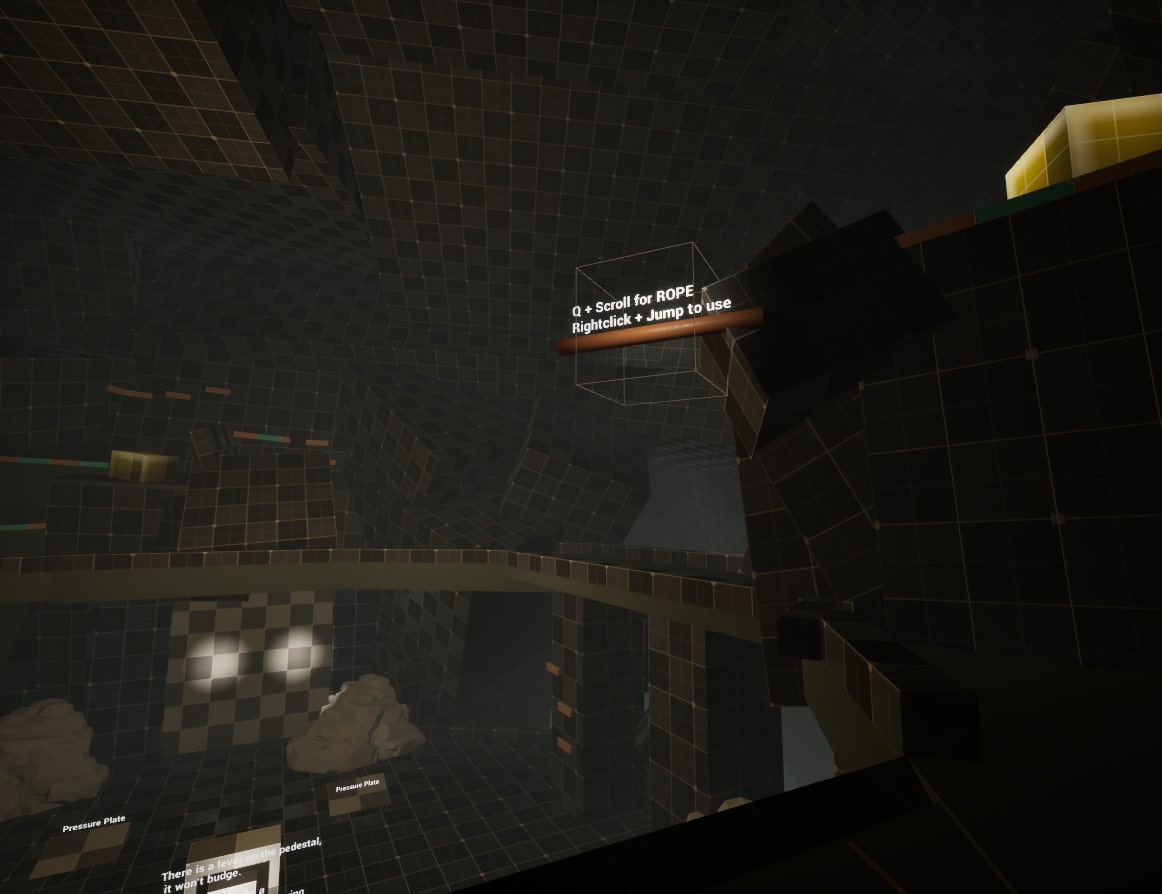
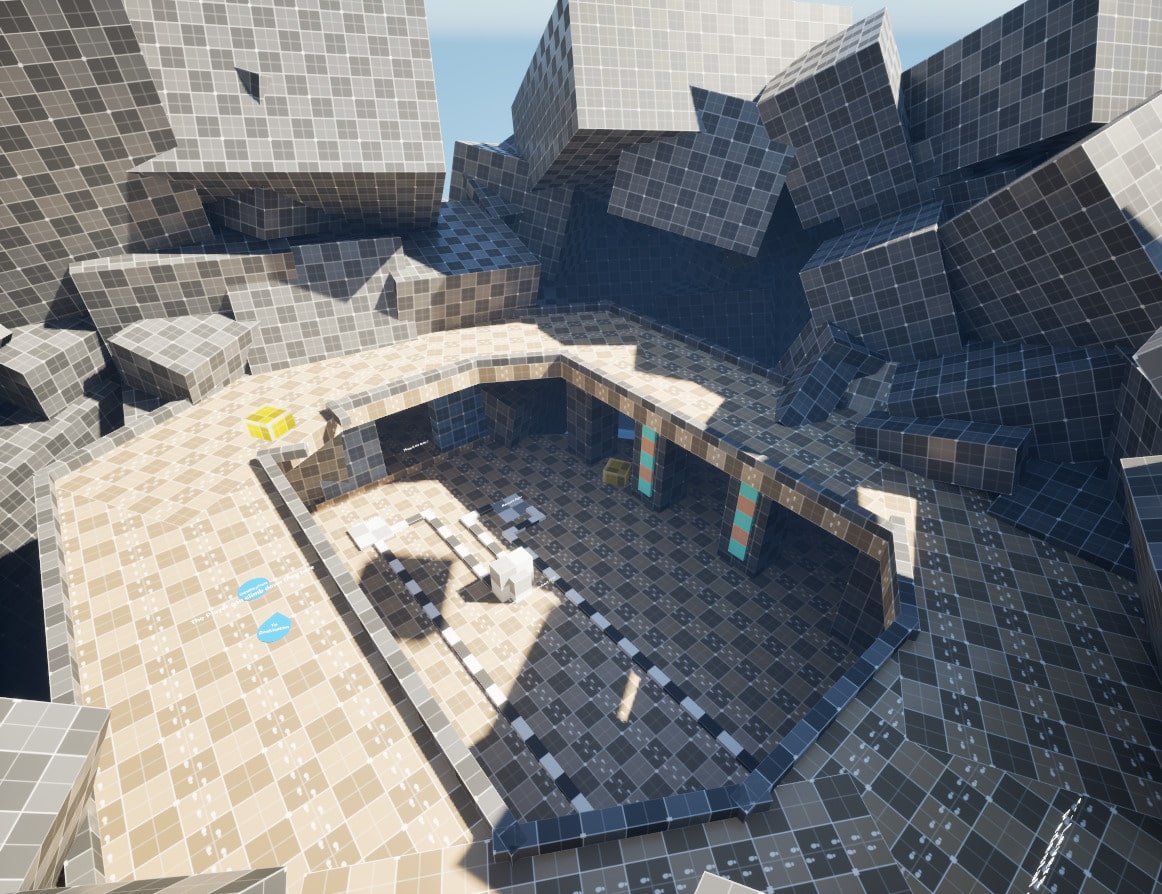
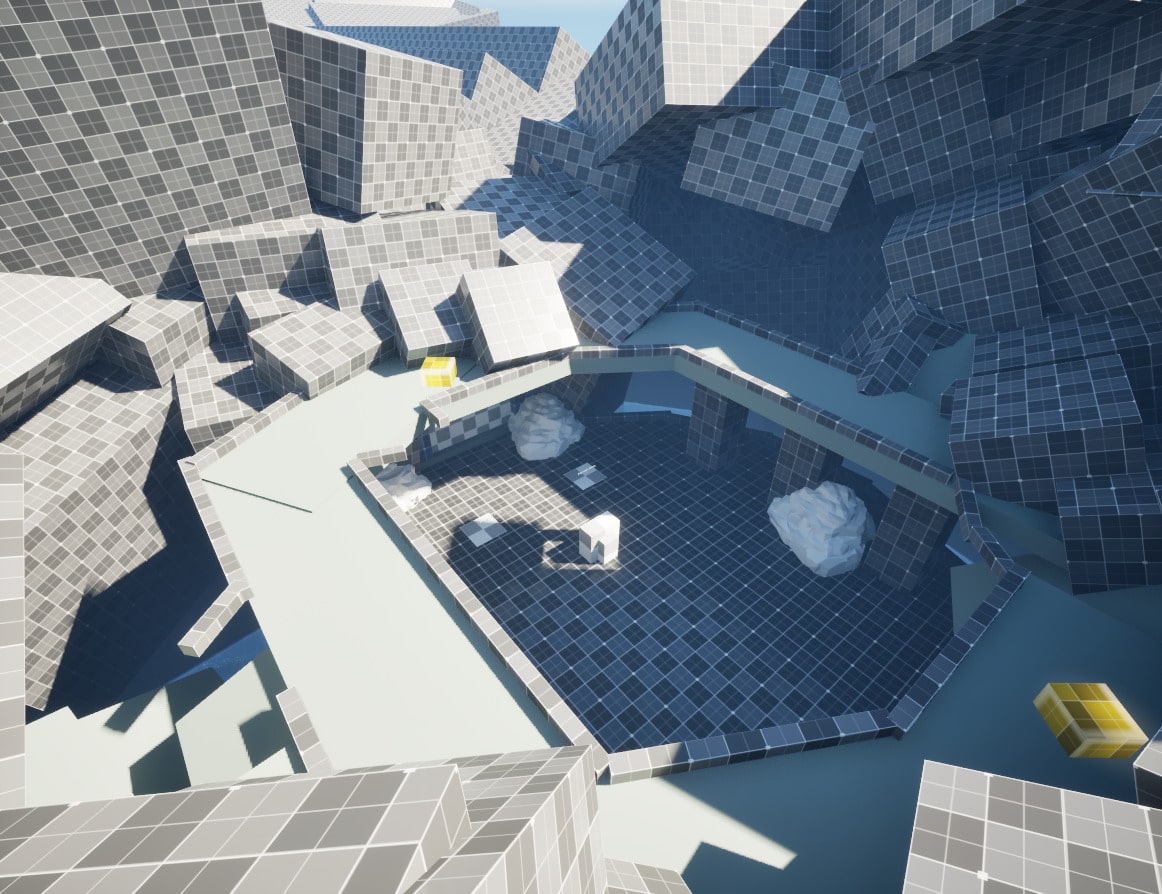
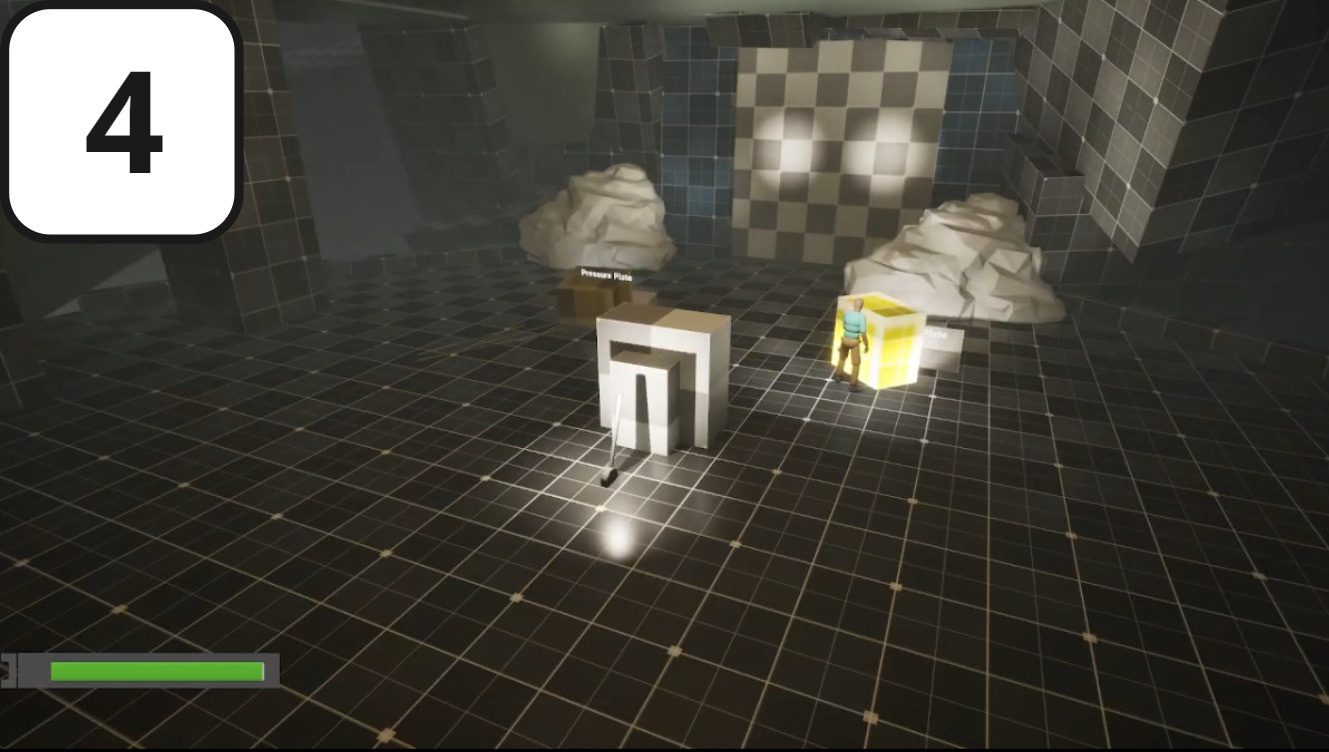
The player enters a room that leads to a dead end with a large, locked door in the back. There are two pressure plates, but the blocks are scattered around the room.

  • The room is built in a cyclical nature with a golden path the player does not have to follow to encourage exploration
  • Further evolves mechanics
    • Uses the push blocks in a pressure plate puzzle.

Techniques Used

VIDEO

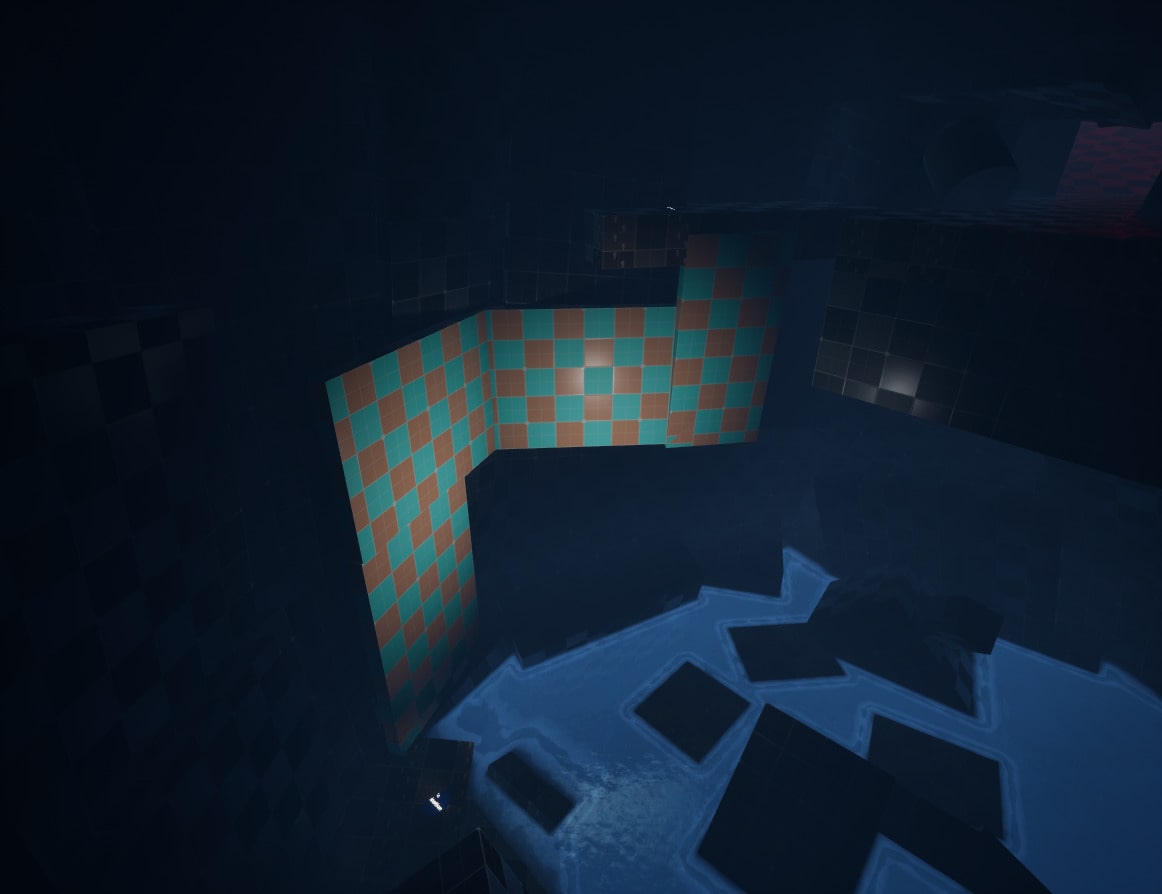
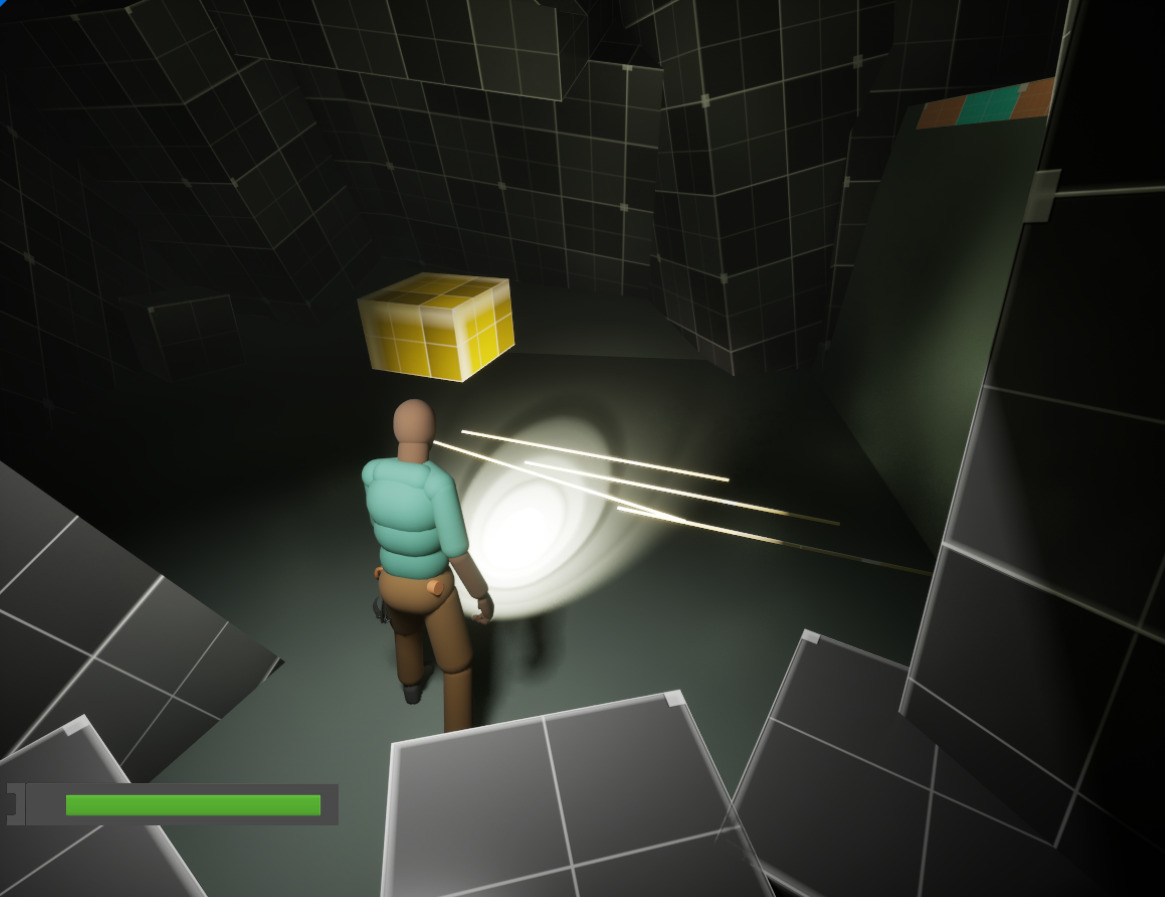
Limited Light:

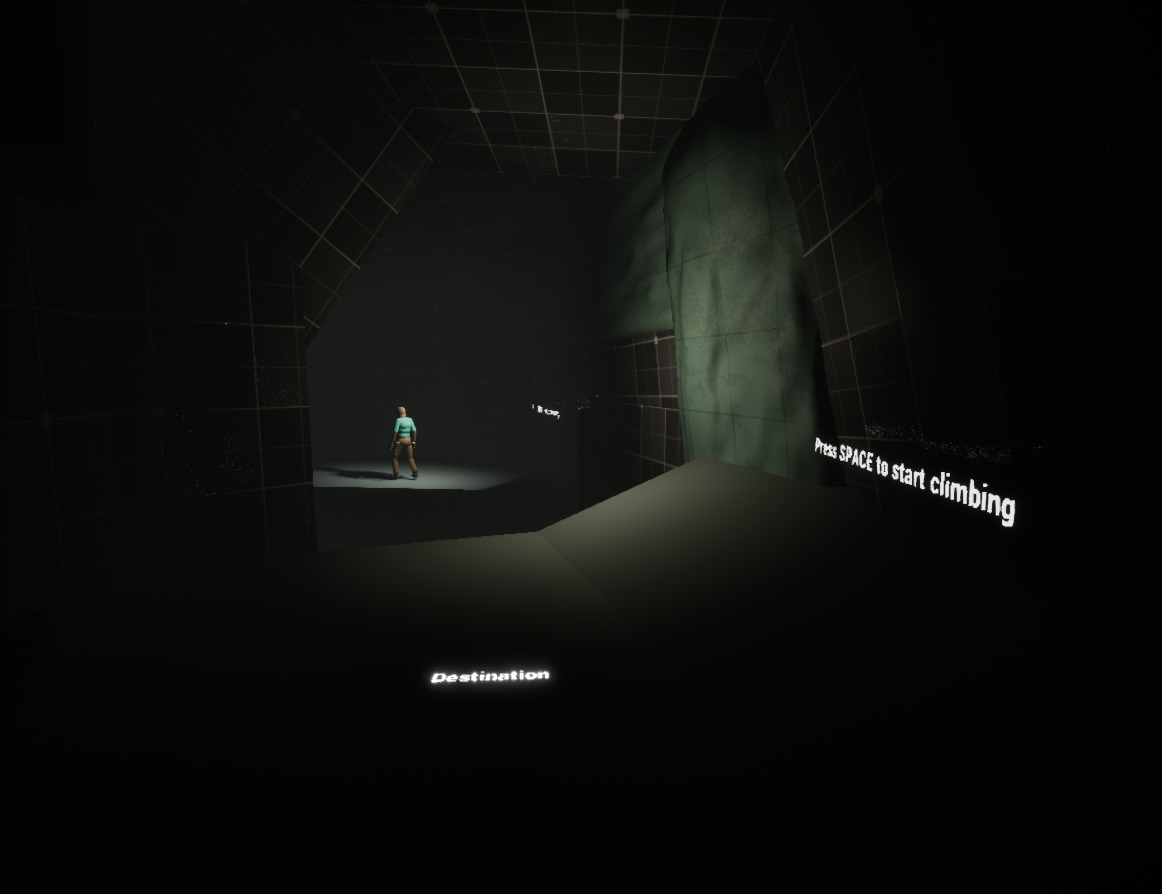
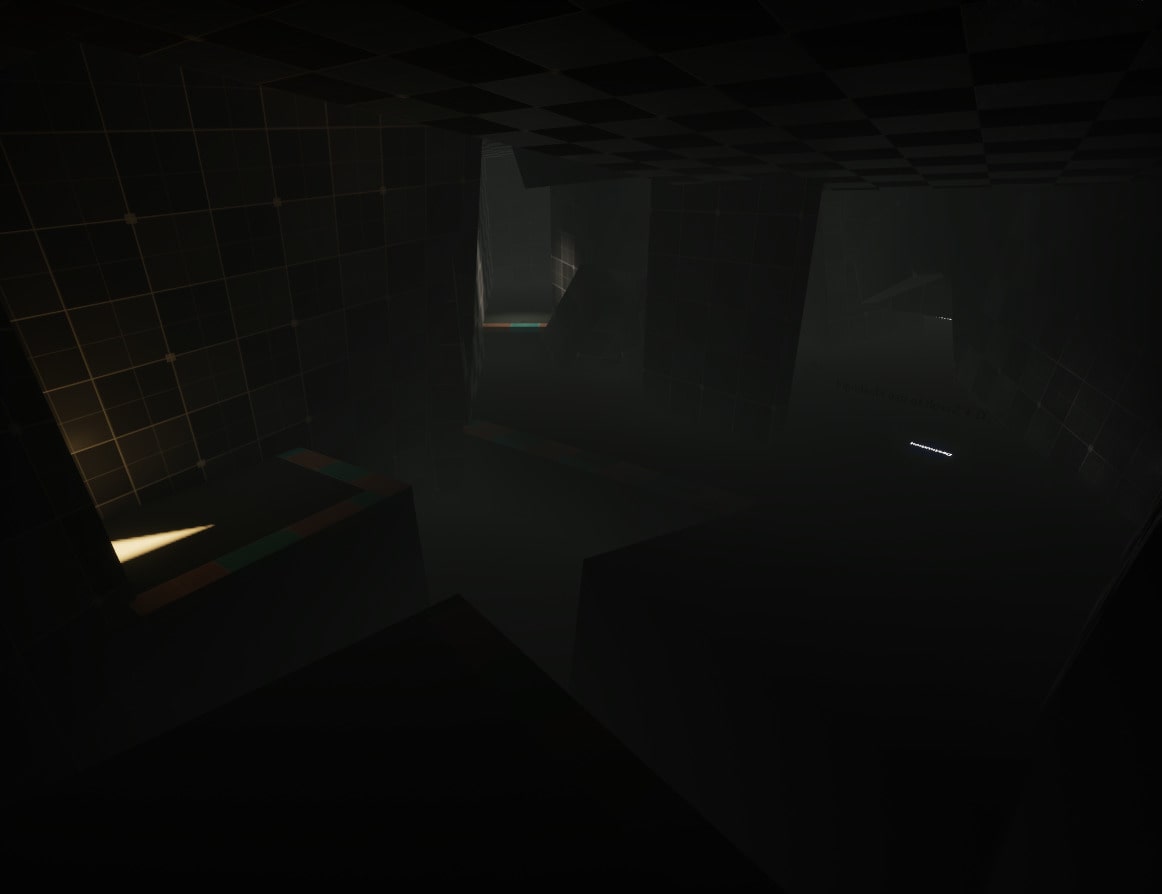
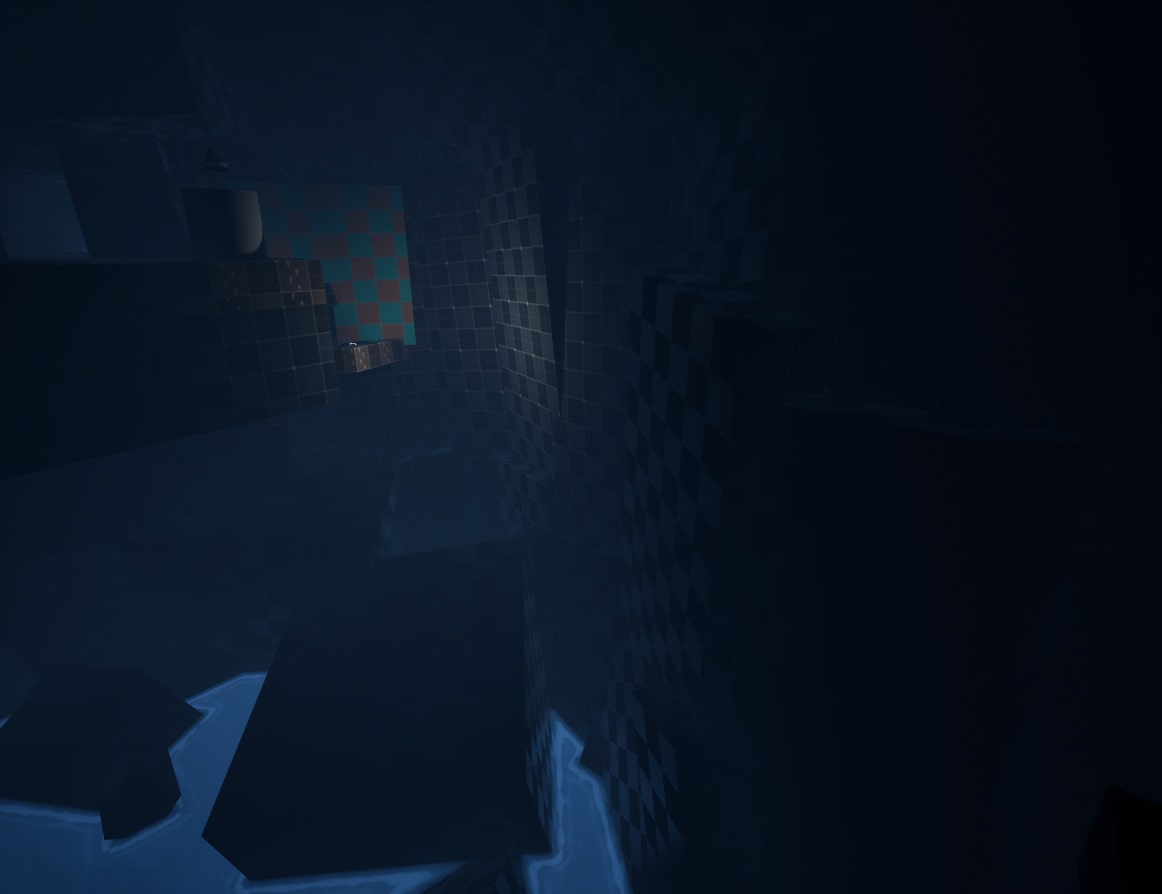
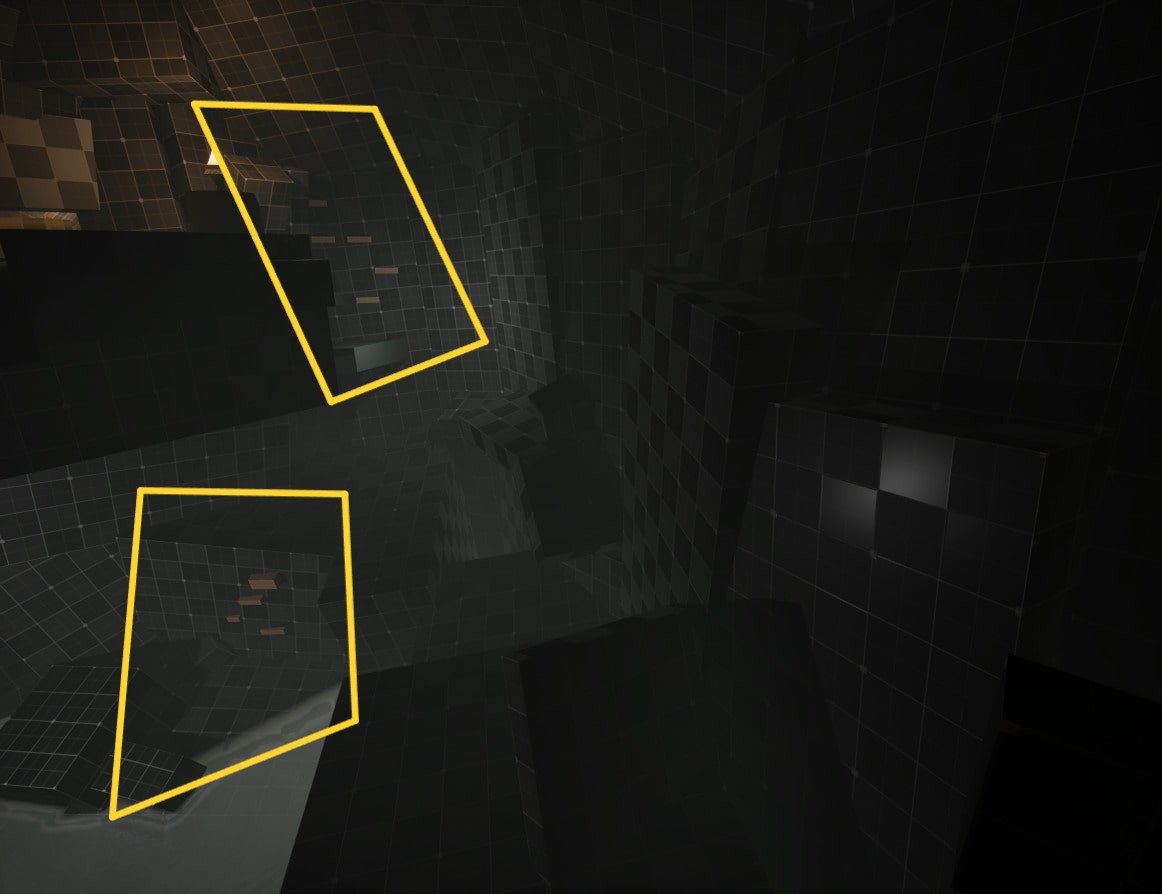
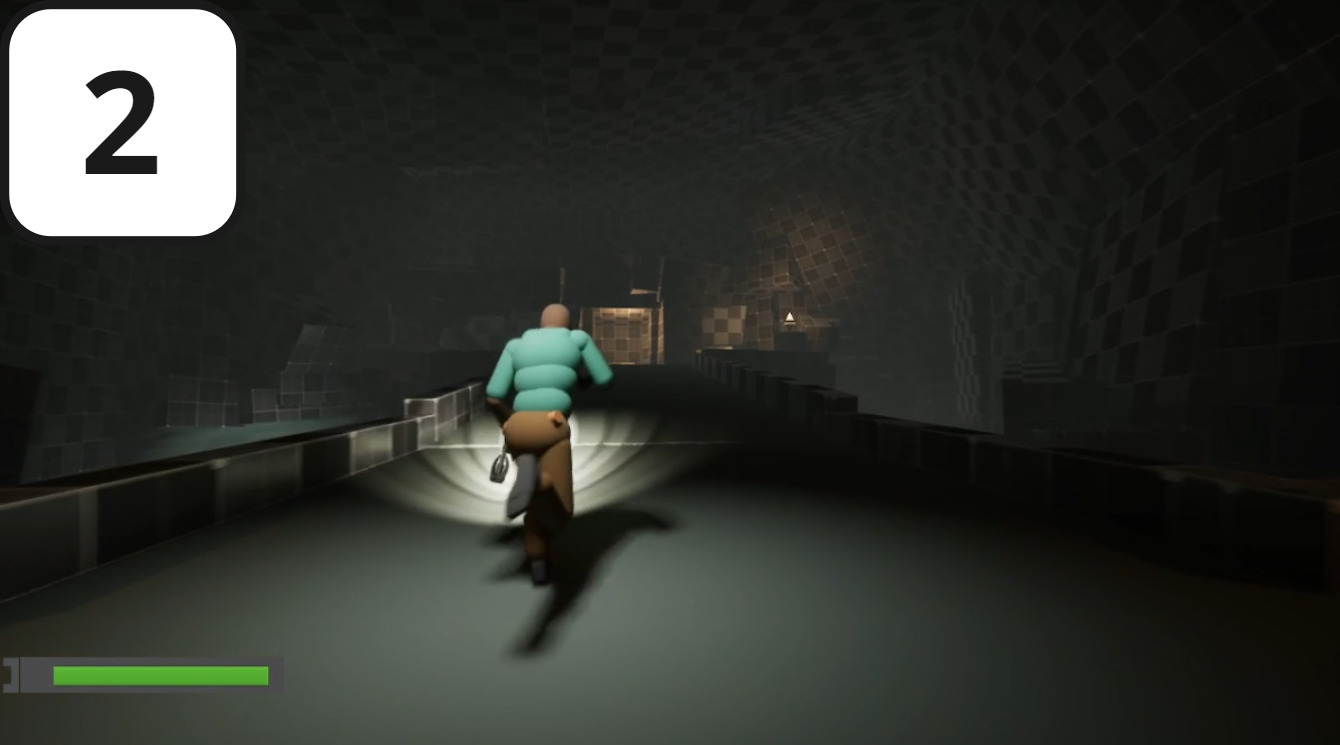
The level is naturally dark with the player only having a flashlight. Guiding the player without being obvious was going to be difficult. 👇

  • Visual organic breadcrumbs to guide forward
  • Emissive materials on puzzle elements to attract attention

Progress

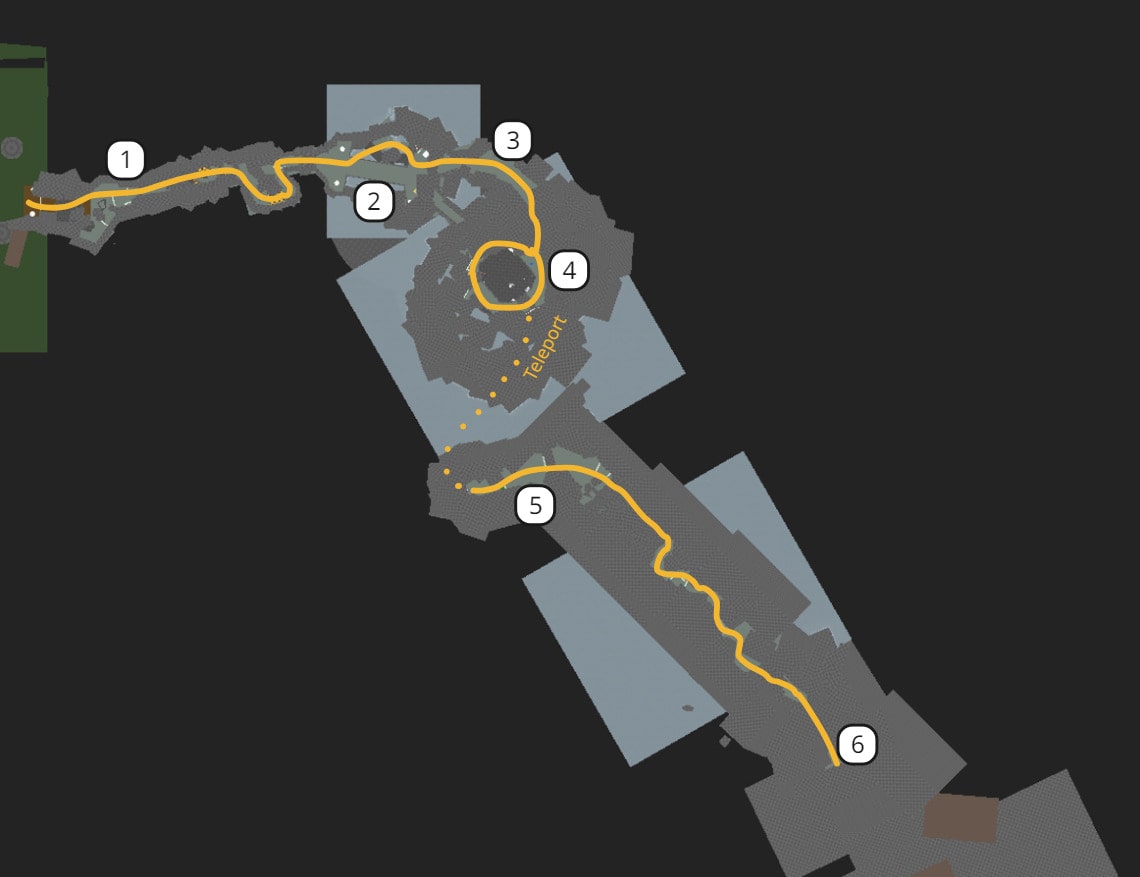
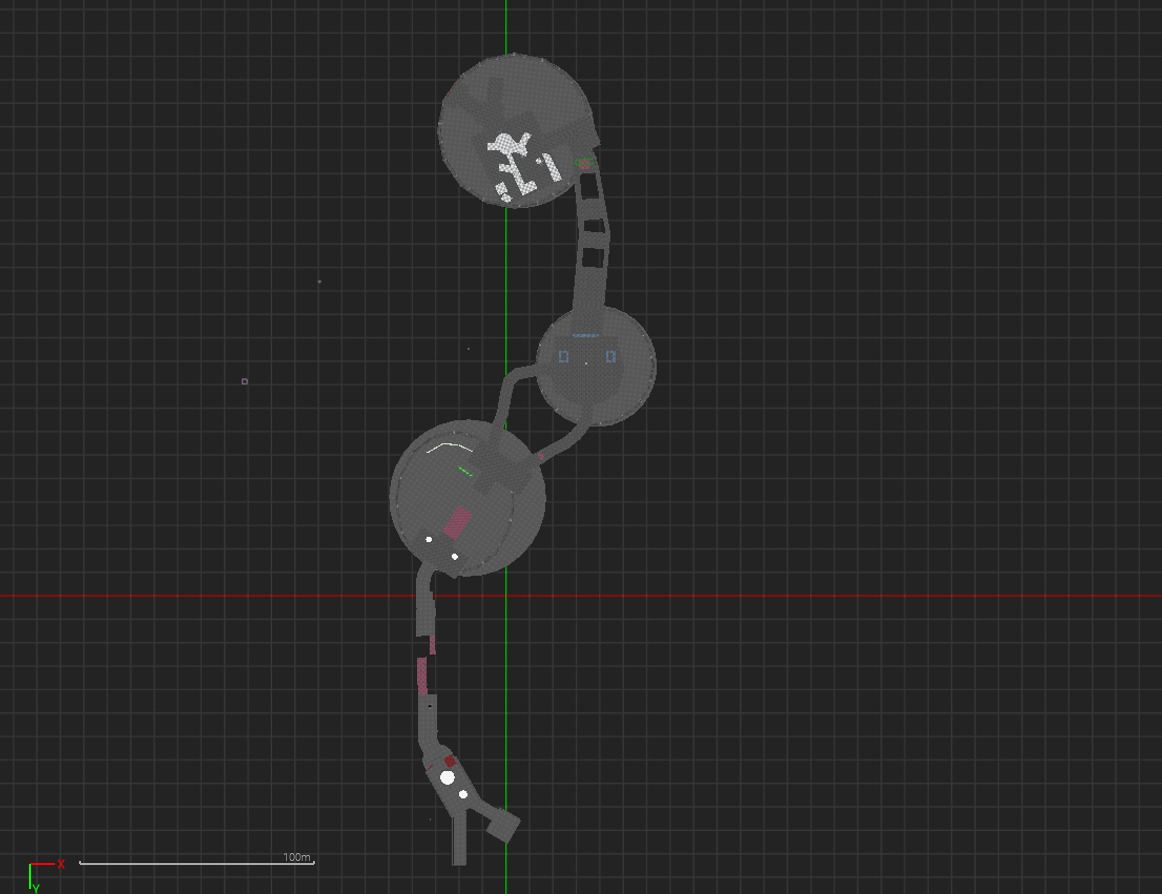
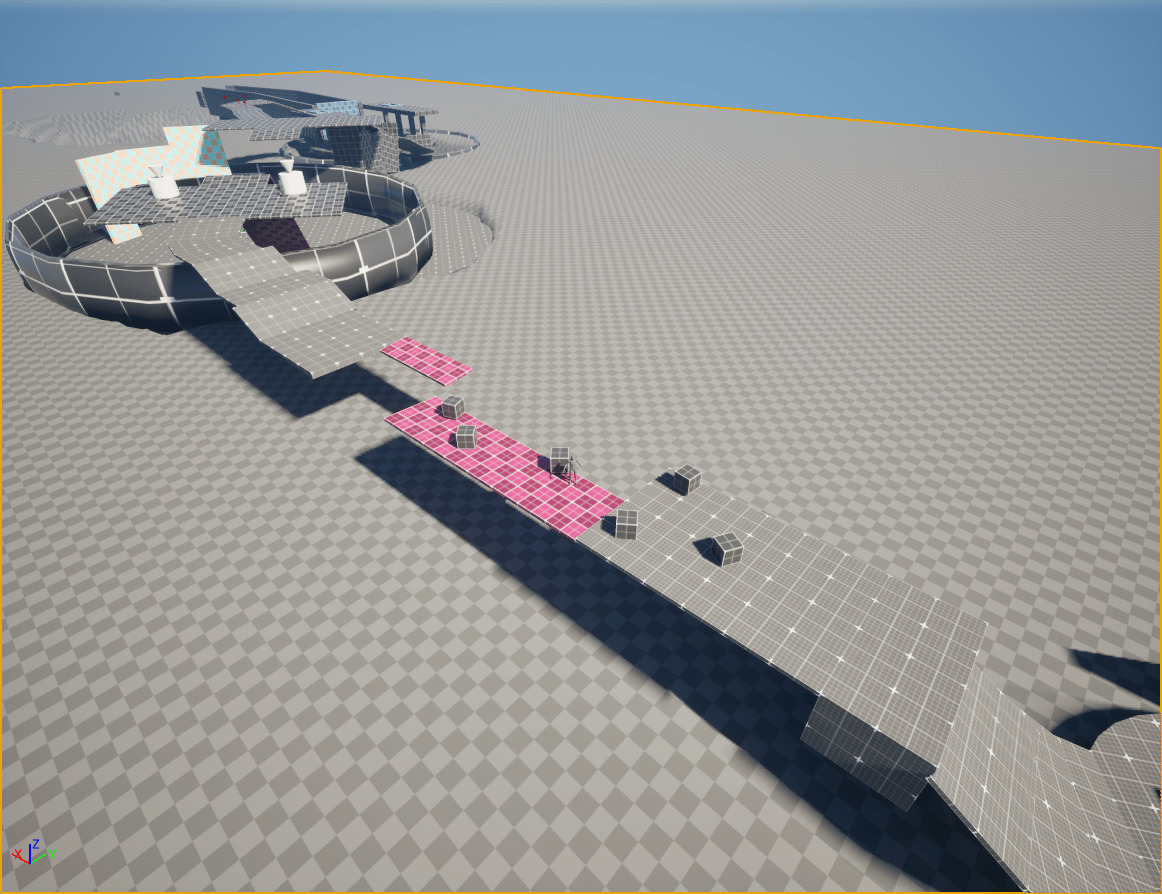
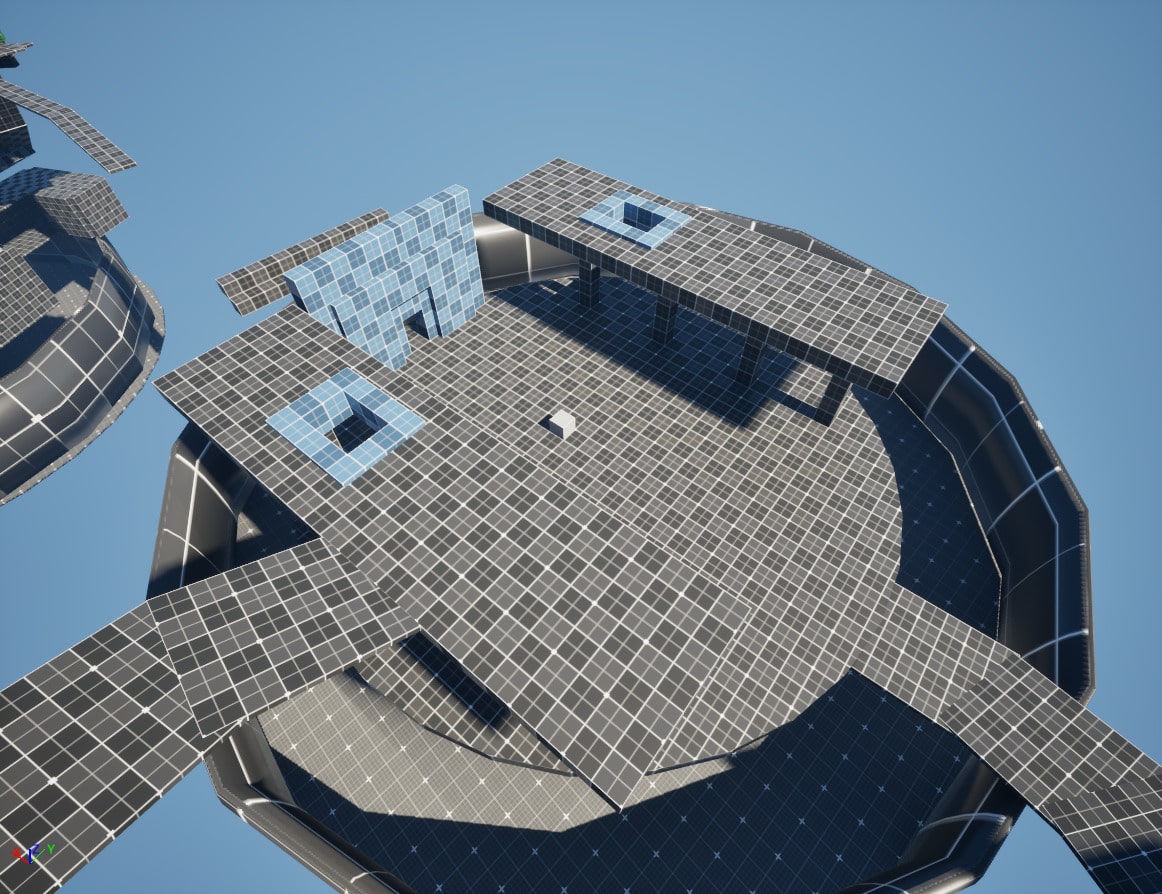
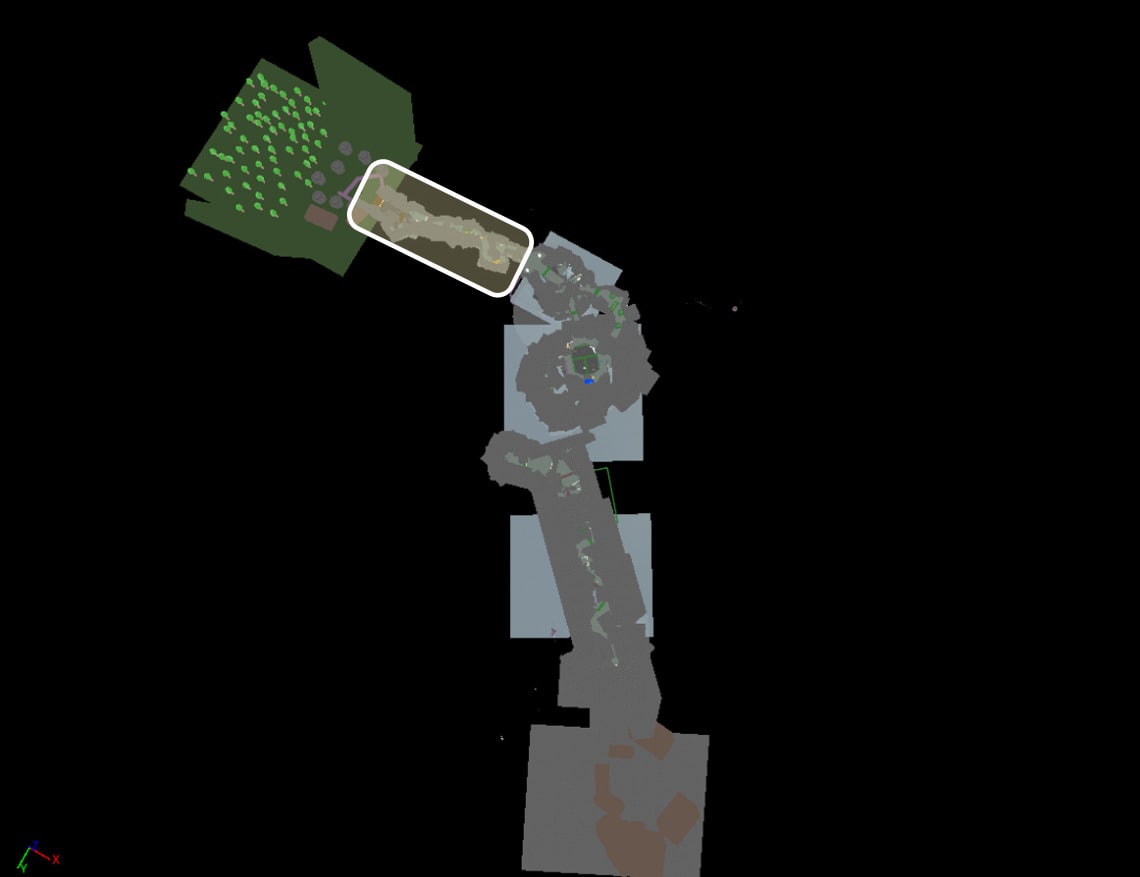
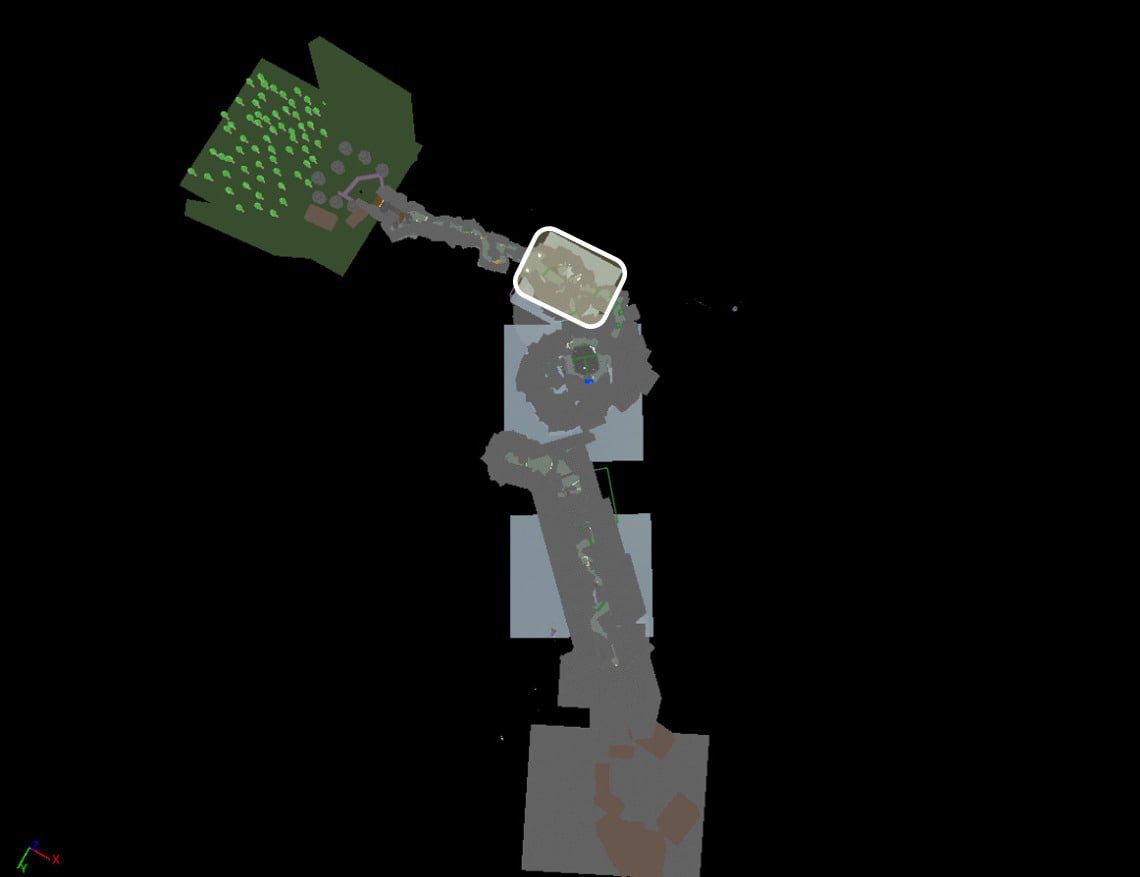
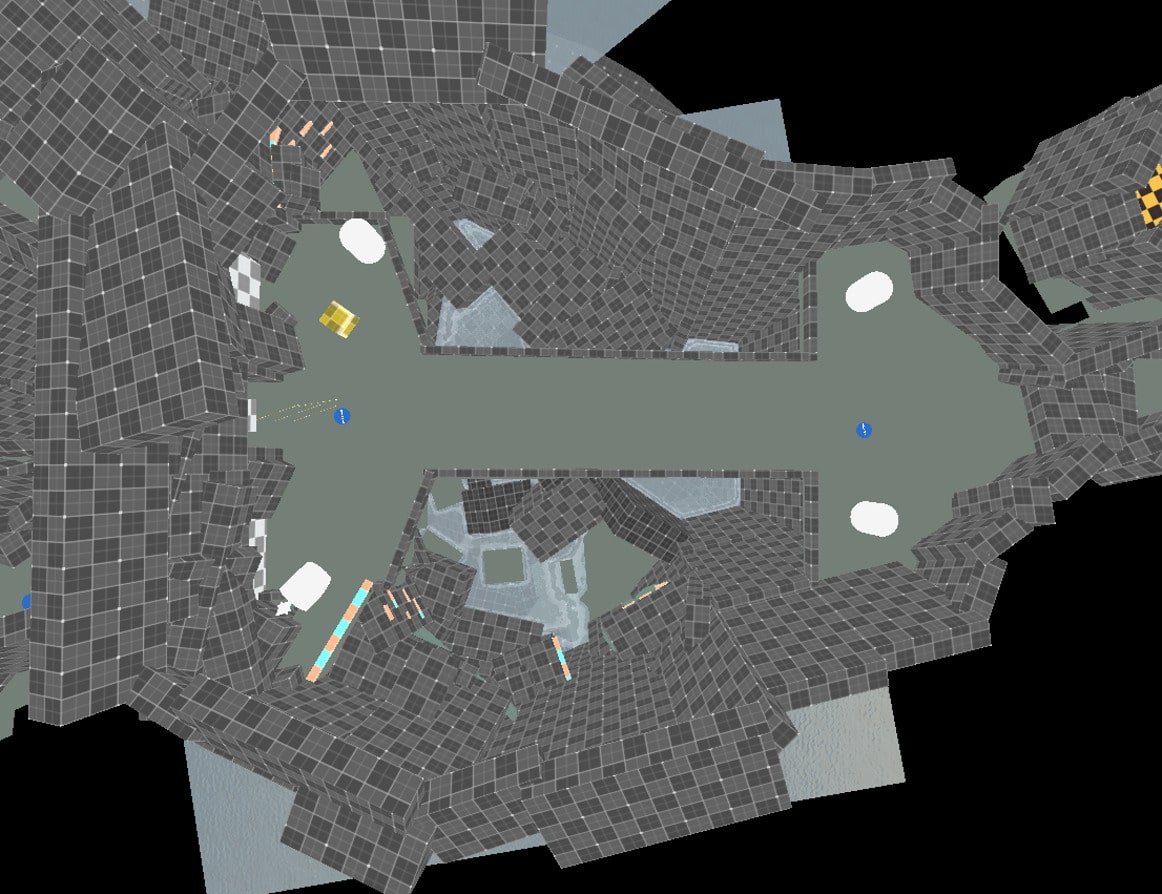
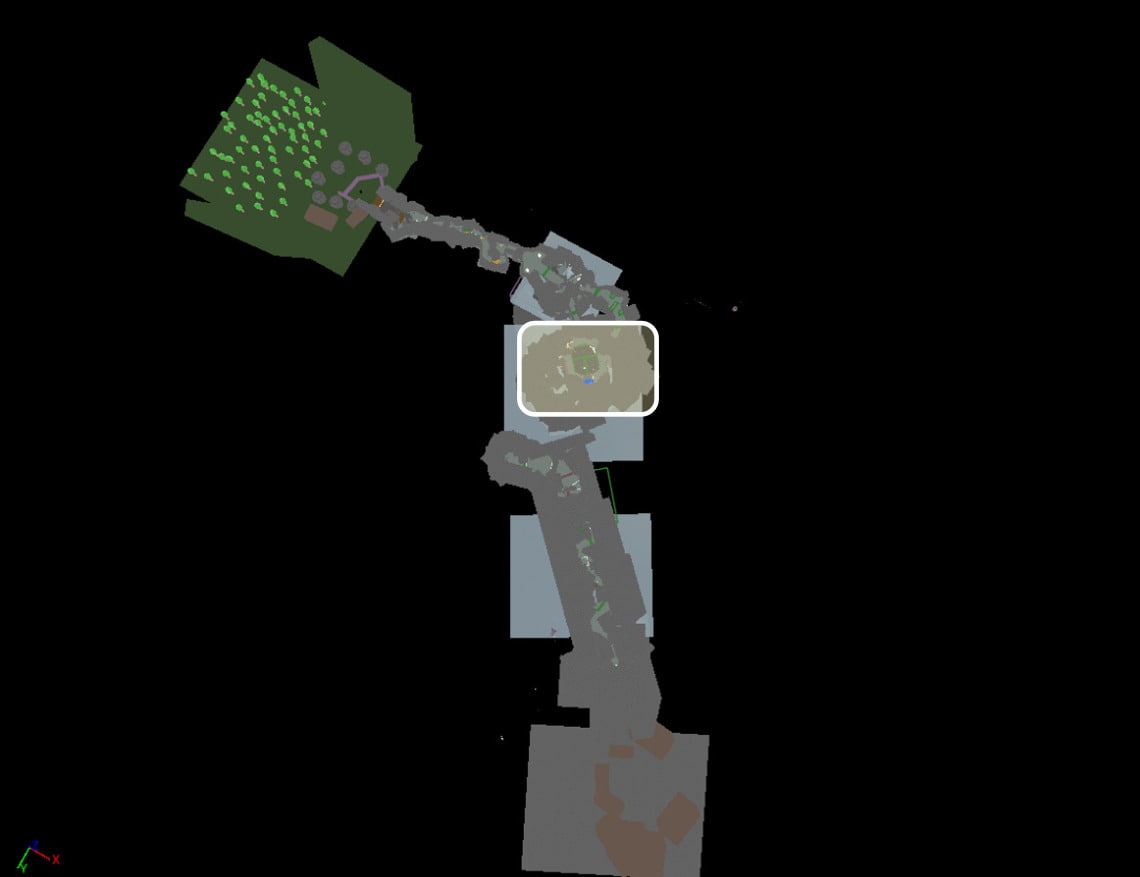
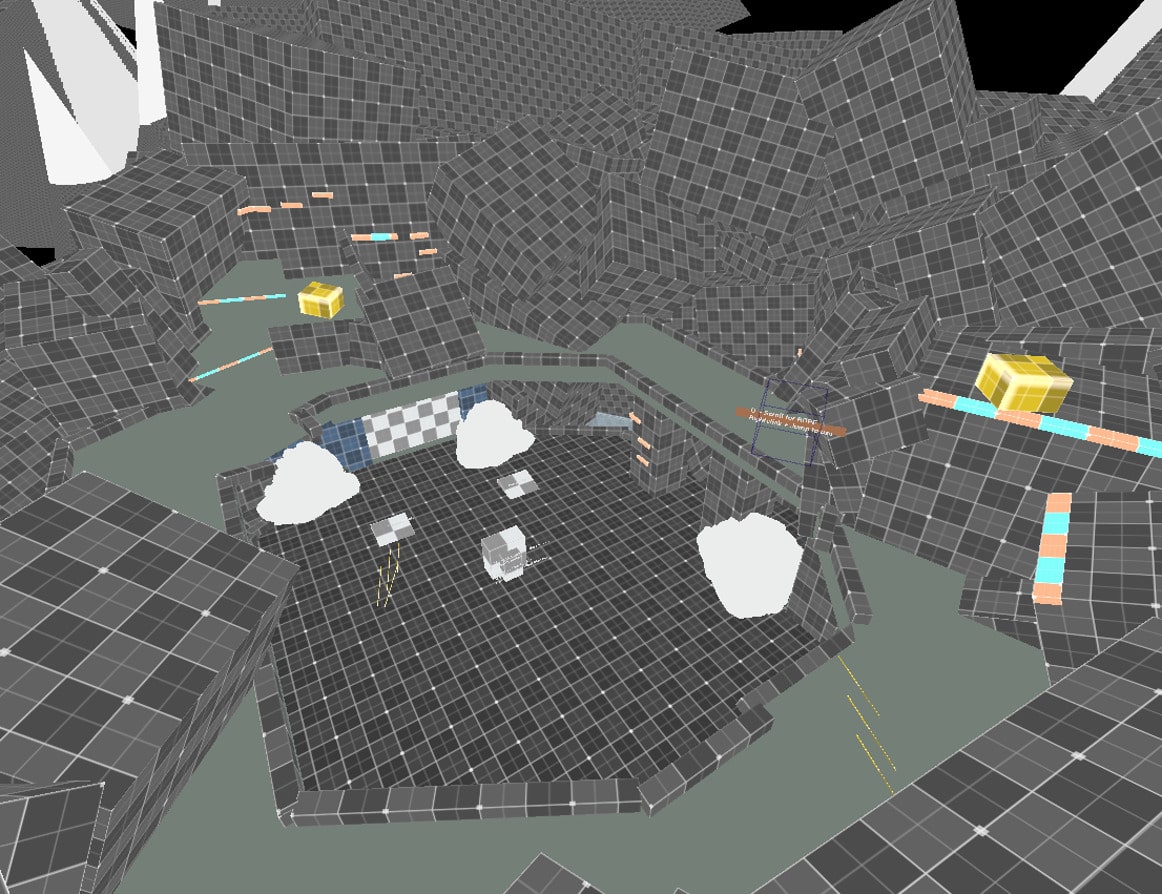
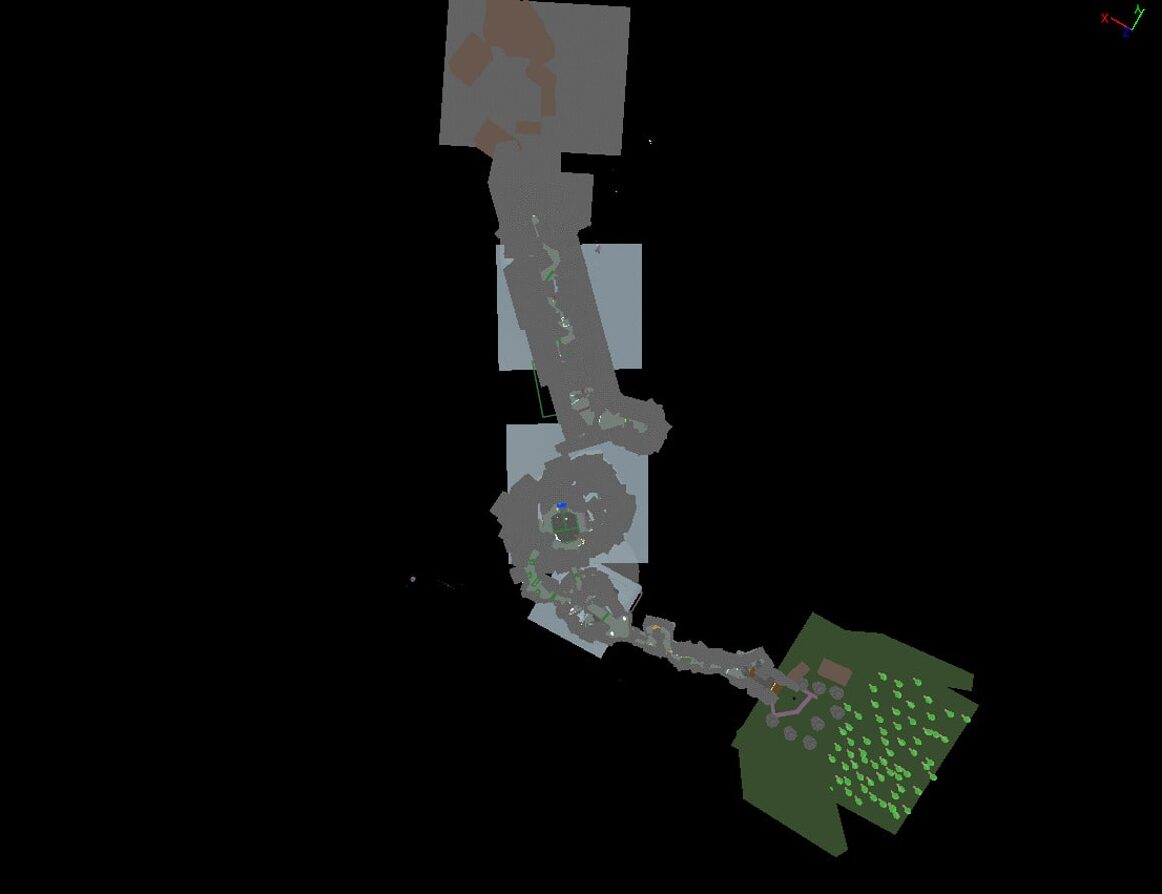
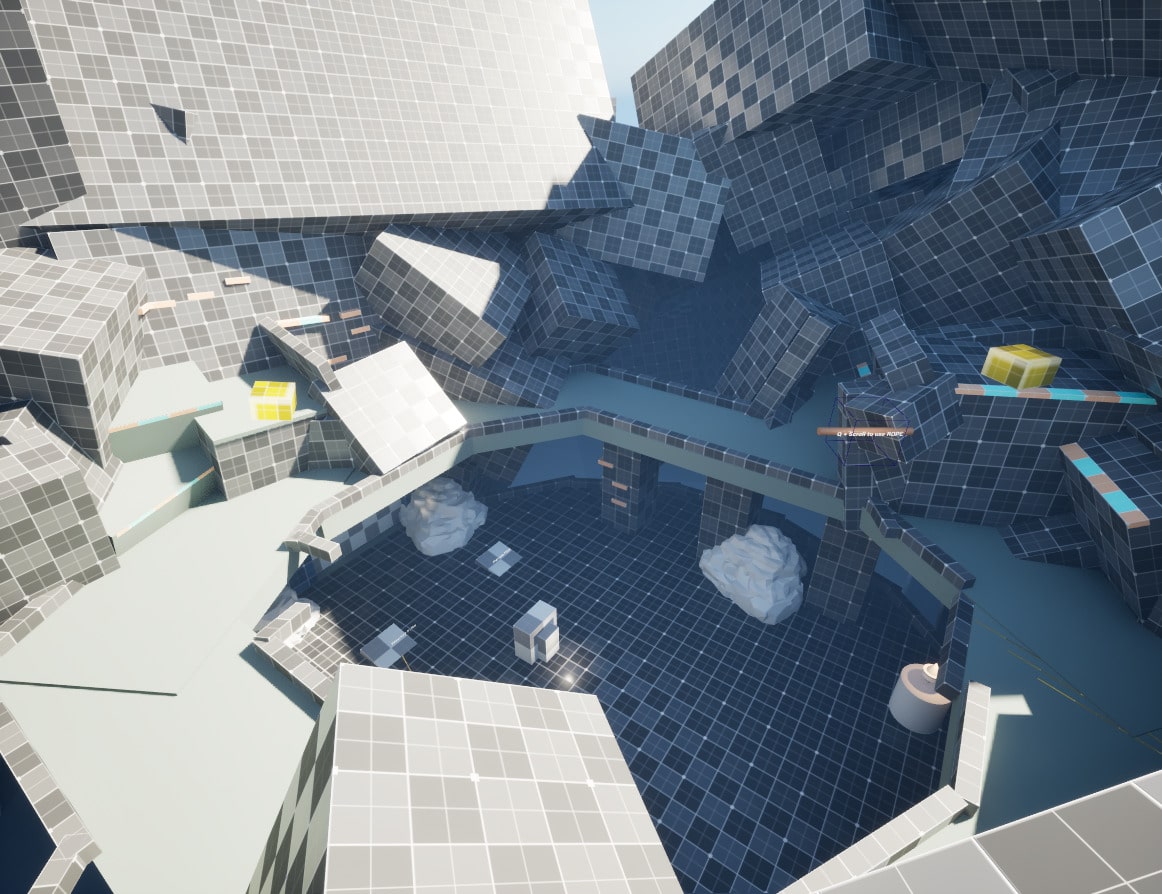
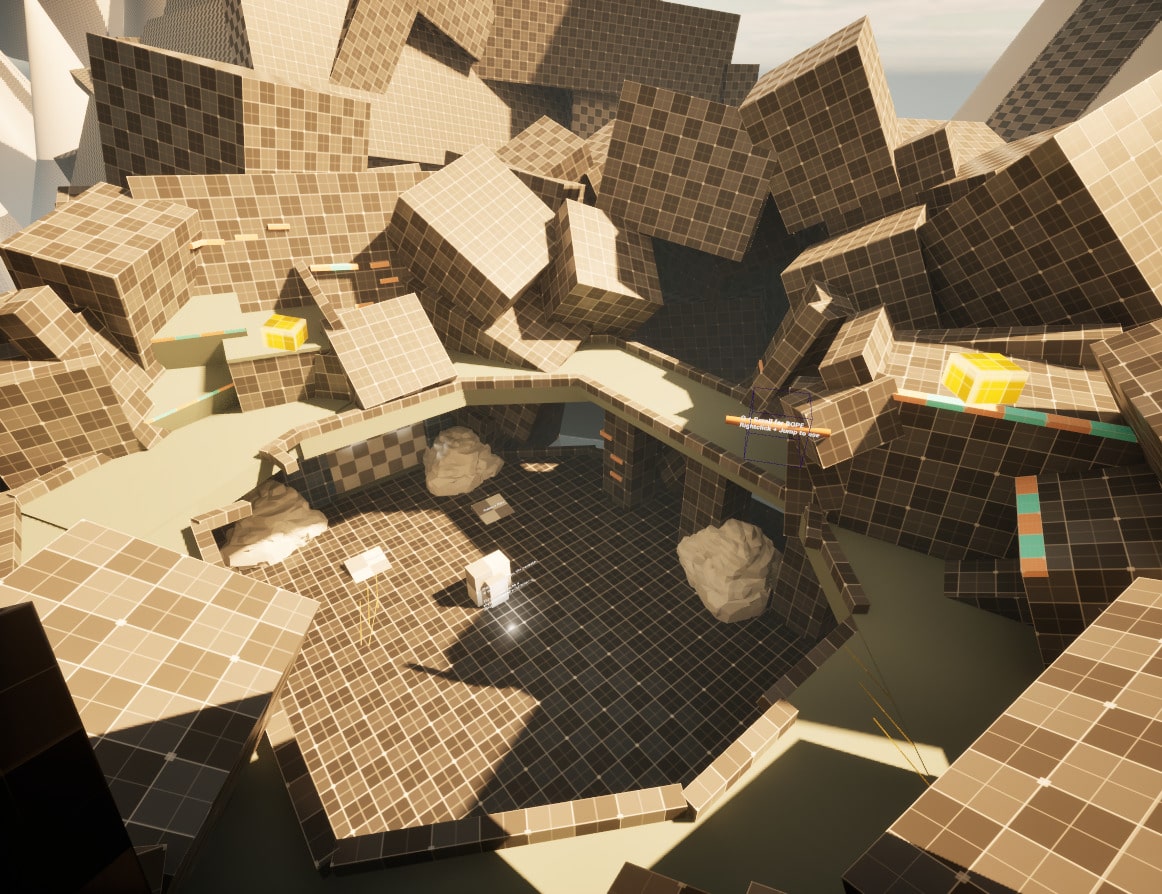
Top View
Progress

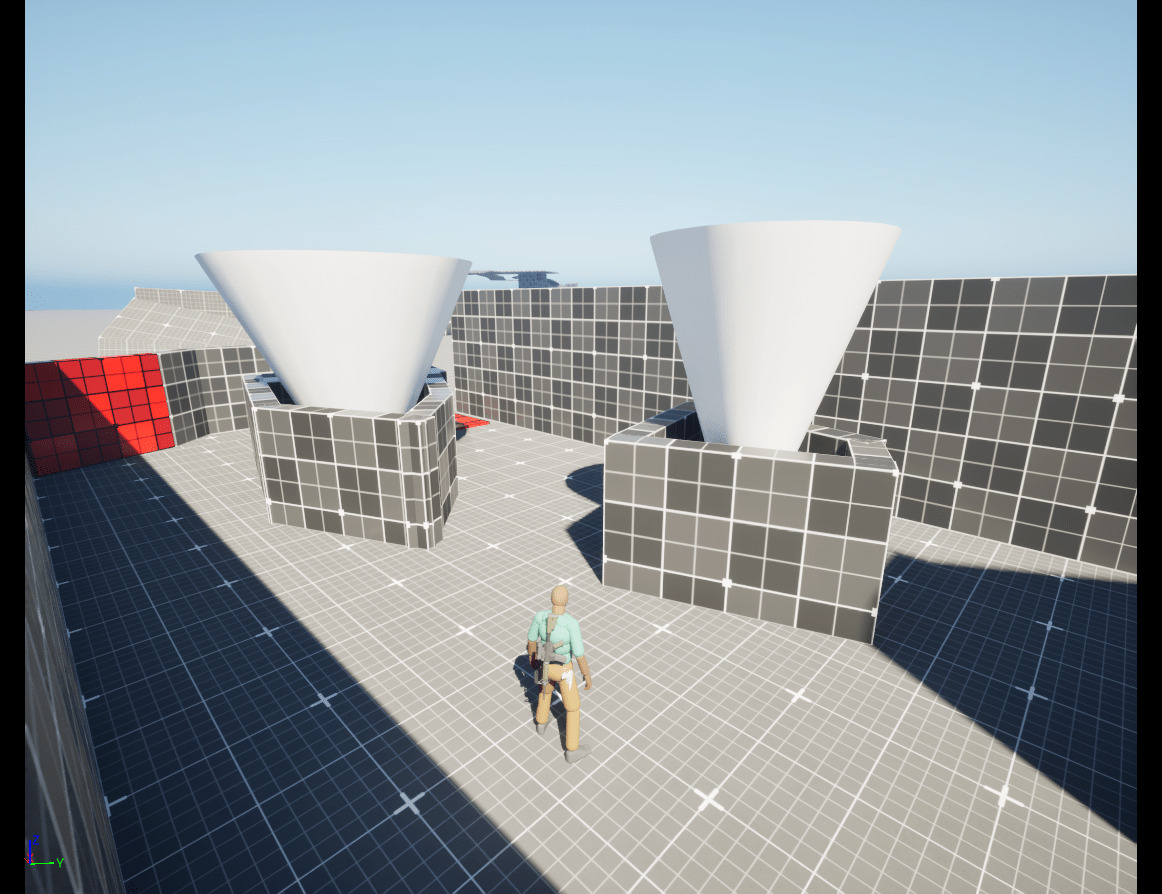
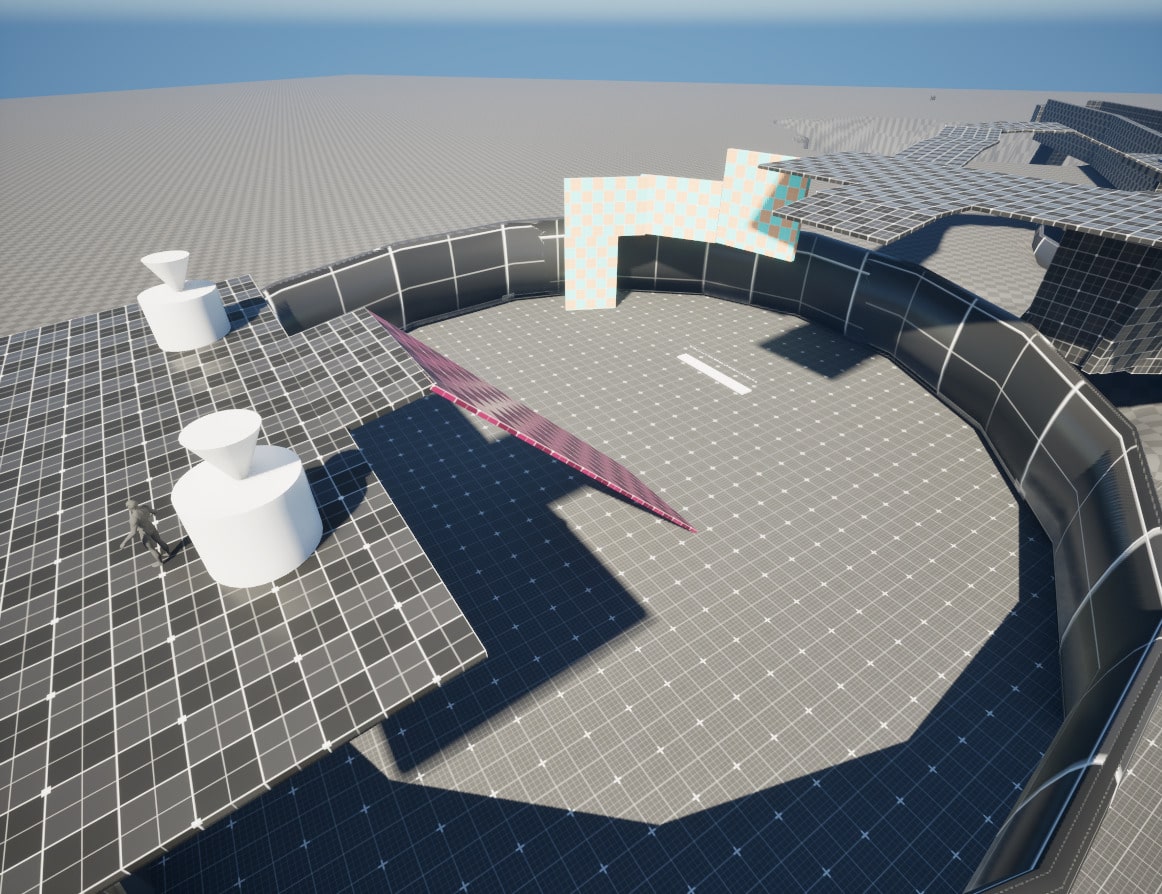
Bridge Collapse

Artifact Puzzle Room

Walkthrough

Skip to ↓
6 Videos
Beat Overview

Beat 1: Entering the Vault

At the start of the level, the Player is entering the cave and traversing forward.

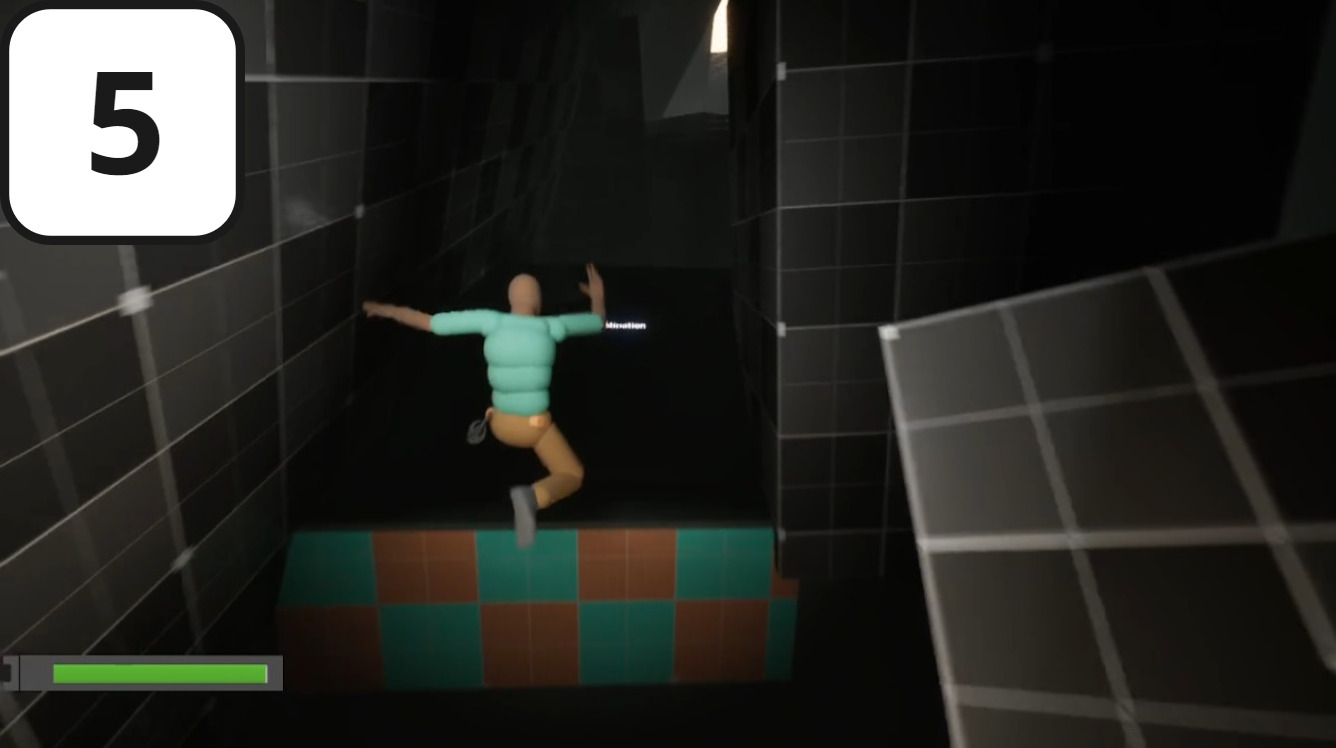
  • Base gameplay mechanics such as climbing and parkour are introduced here.
  • “Safe spaces” are offered to ease the player into the traversal mechanics
Visual Level Beats

Process

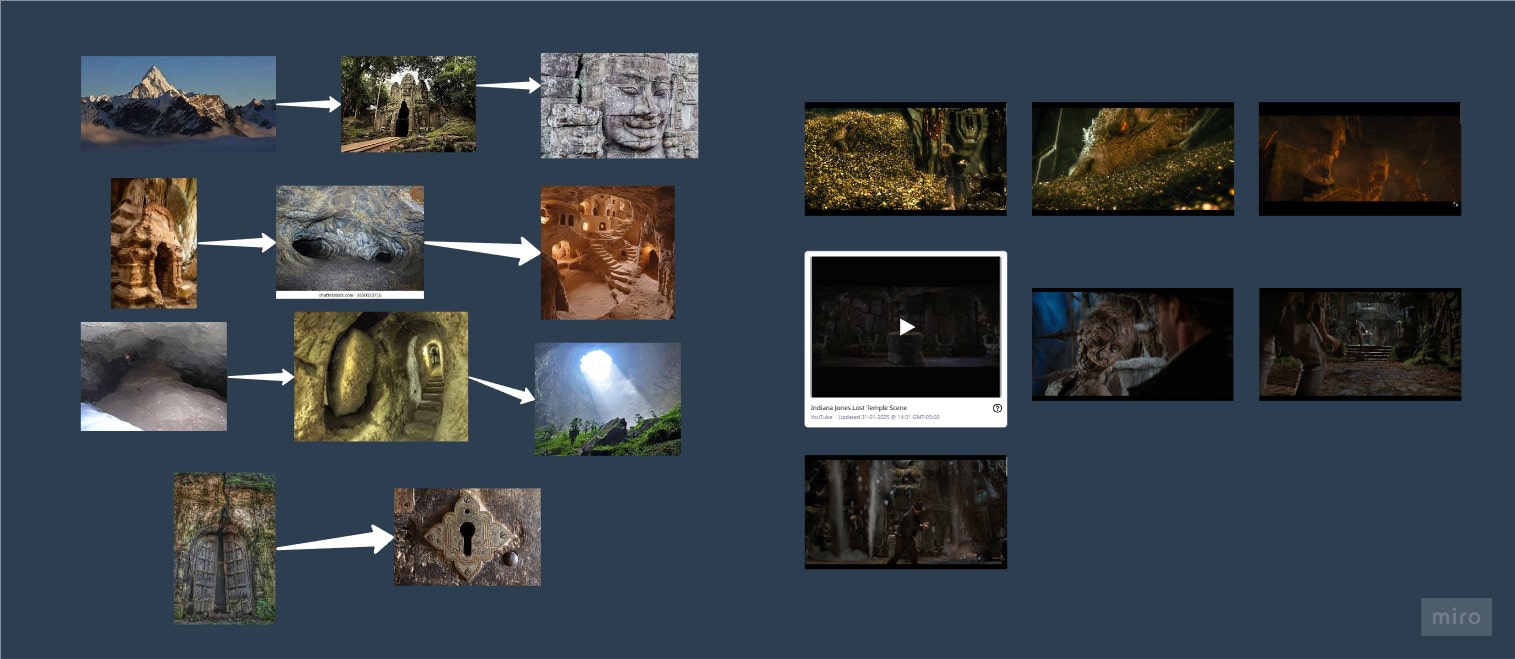
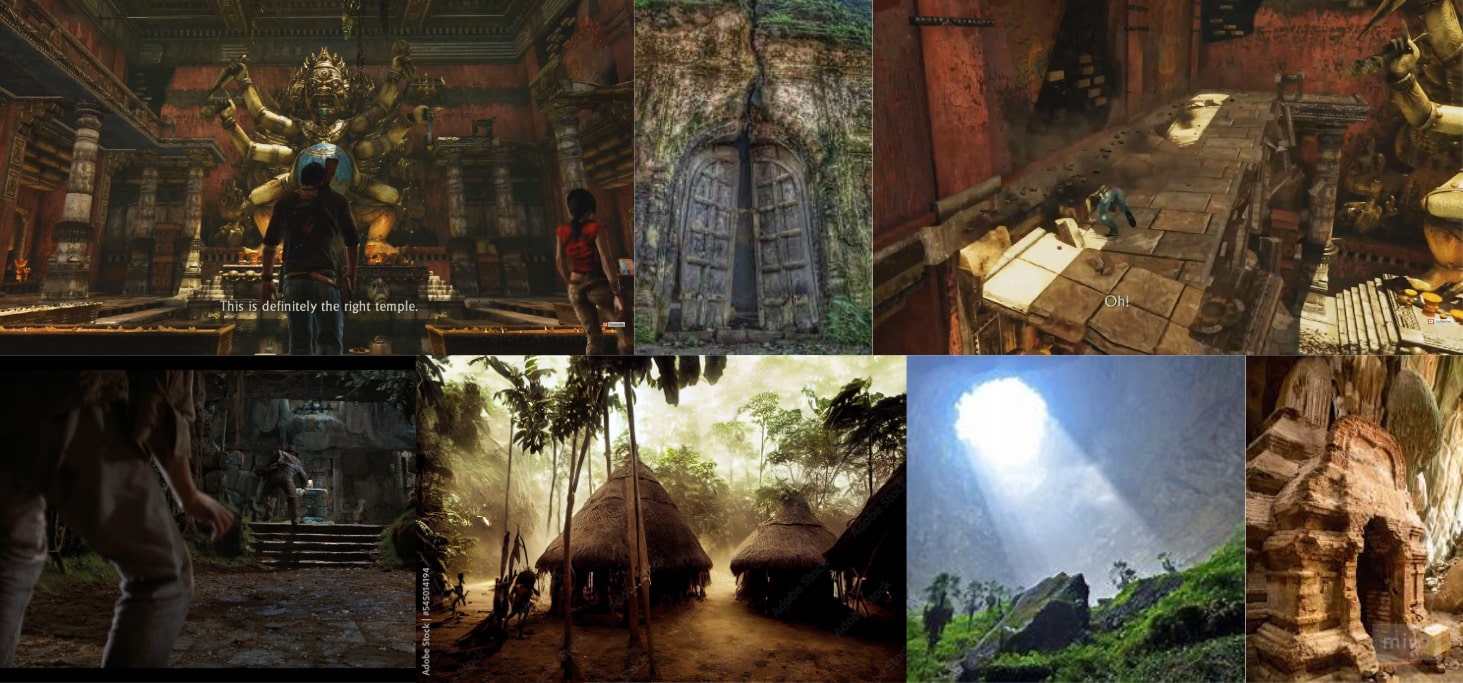
1: Research, ideation and planning

My first step when building a level is to generate a cohesive level idea from scratch. My goal here is to define the world and player activity.

Process (using Miro👆):

  • 1. Define the Level by defining the setting, tone, mood, mechanics and goal.
  • 2. Analyze other games for inspiration.
  • 3. Refer to our world for realistic references to build off of.
  • 4. Explore non-game media to see what other worlds can inpire the level.
  • Played the Uncharted games to gather references to inform gameplay style and mechanics. 
  • Gathered visual references from The Hobbit and Indiana Jones films for mood, tone, and setting.

Result:
I was able to get a much clearer idea of what I wanted my level to look like. I feel confident to begin documenting the decisions and get into engine. This is also where I would get peer feedback on the preproduction.

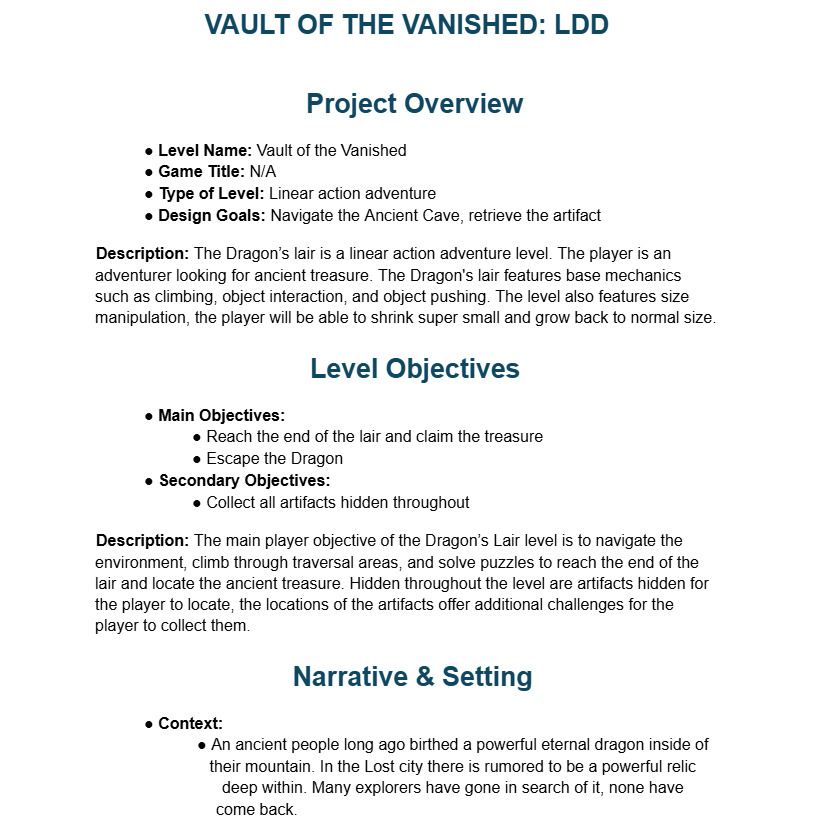
2: Level Documentation + 2D Map

My next step is to create living documentation to refer to while building the level in engine. This is generated from the previous brainstorm and research.

Level Beat Graph

Process:

  • Create a Level Design Document to finalize certain details such as level objectives, setting, mechanics/constraints.
  • To further define the level, I drafted a beat sheet to visualize level events and assigned intensity values to iron out pacing between them.
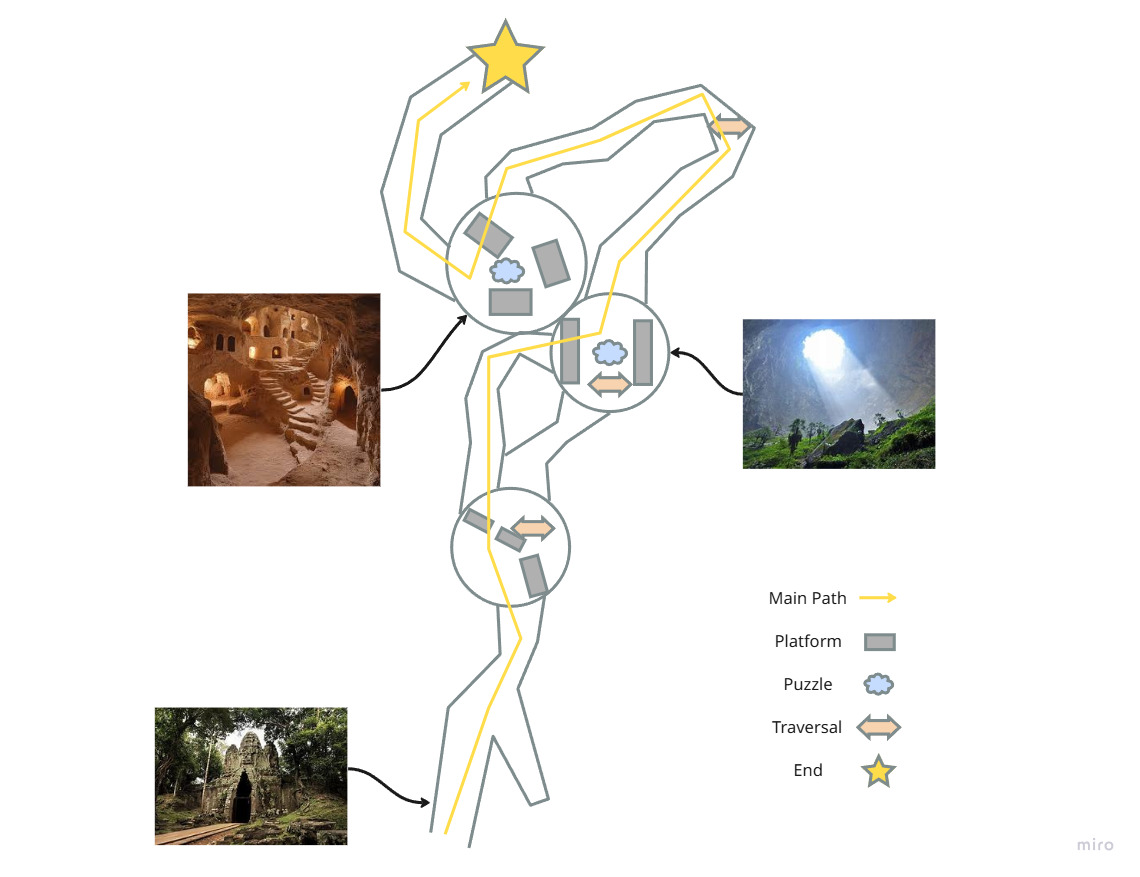
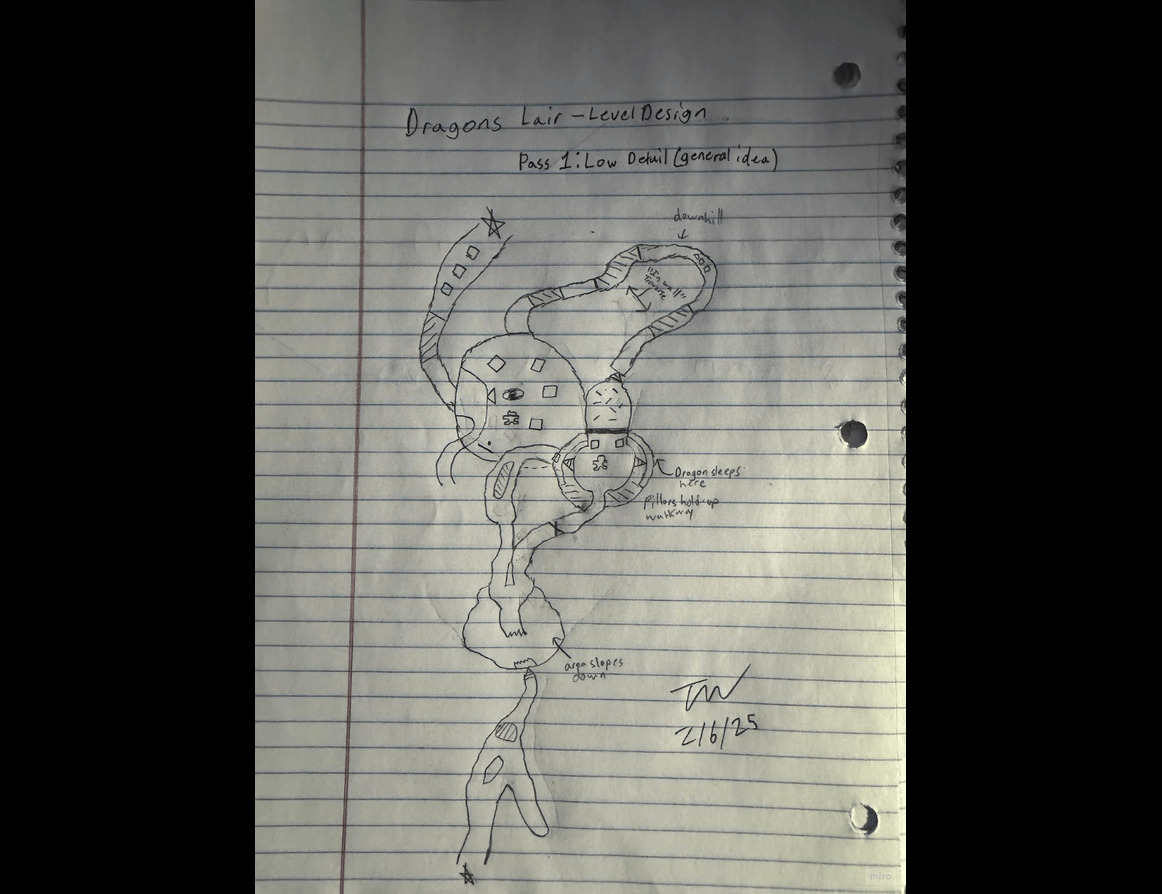
  • Sketched 2D maps for the full level layout and detailed layout of specific rooms.
    • Here I was able to use place beats on the layout to inform the roughout.
Sketch
2D Map

Result:
Documenting my design decisions gave me a definitive to refer to during in-engine building, and when things needed to change, the documentation allowed me to change things while keeping the original core idea intact.

3: The First Roughout

I have a clear idea of the level and a 2D map as a starting point, I now feel confident to move into the engine.

Process:

I start in Unreal engine with a super rough pass to geta basic understanding of the level in 3D space.

  • Transitioned 2D map to UE5 by roughly pathing the level with simple geometry.
  • Simulated advanced traversal gameplay using teleport blueprints.
  • The second pass added walls/ceilings and defines basic gameplay spaces while still simulating advanced areas
  • Utilized my previous research to actively inform the spaces visual direction.
Miro Reference Board

Result:
Keeping the visuals mundane and geometric in the early stages helped me gauge the desired length of the level. Player feedback was gathered at this stage to get a feel of what could be missing early on.

4: Blockout, Iterate, Refine (Cycle)

After getting the base layout of the level done in 2 rough passes. Here, I blockout the level, define the advanced gameplay spaces, and make multiple iterations and revisions.

Process: (continuous cycle)

  • Advanced blockout to define the natural space of the level.
  • Define advanced gameplay spaces
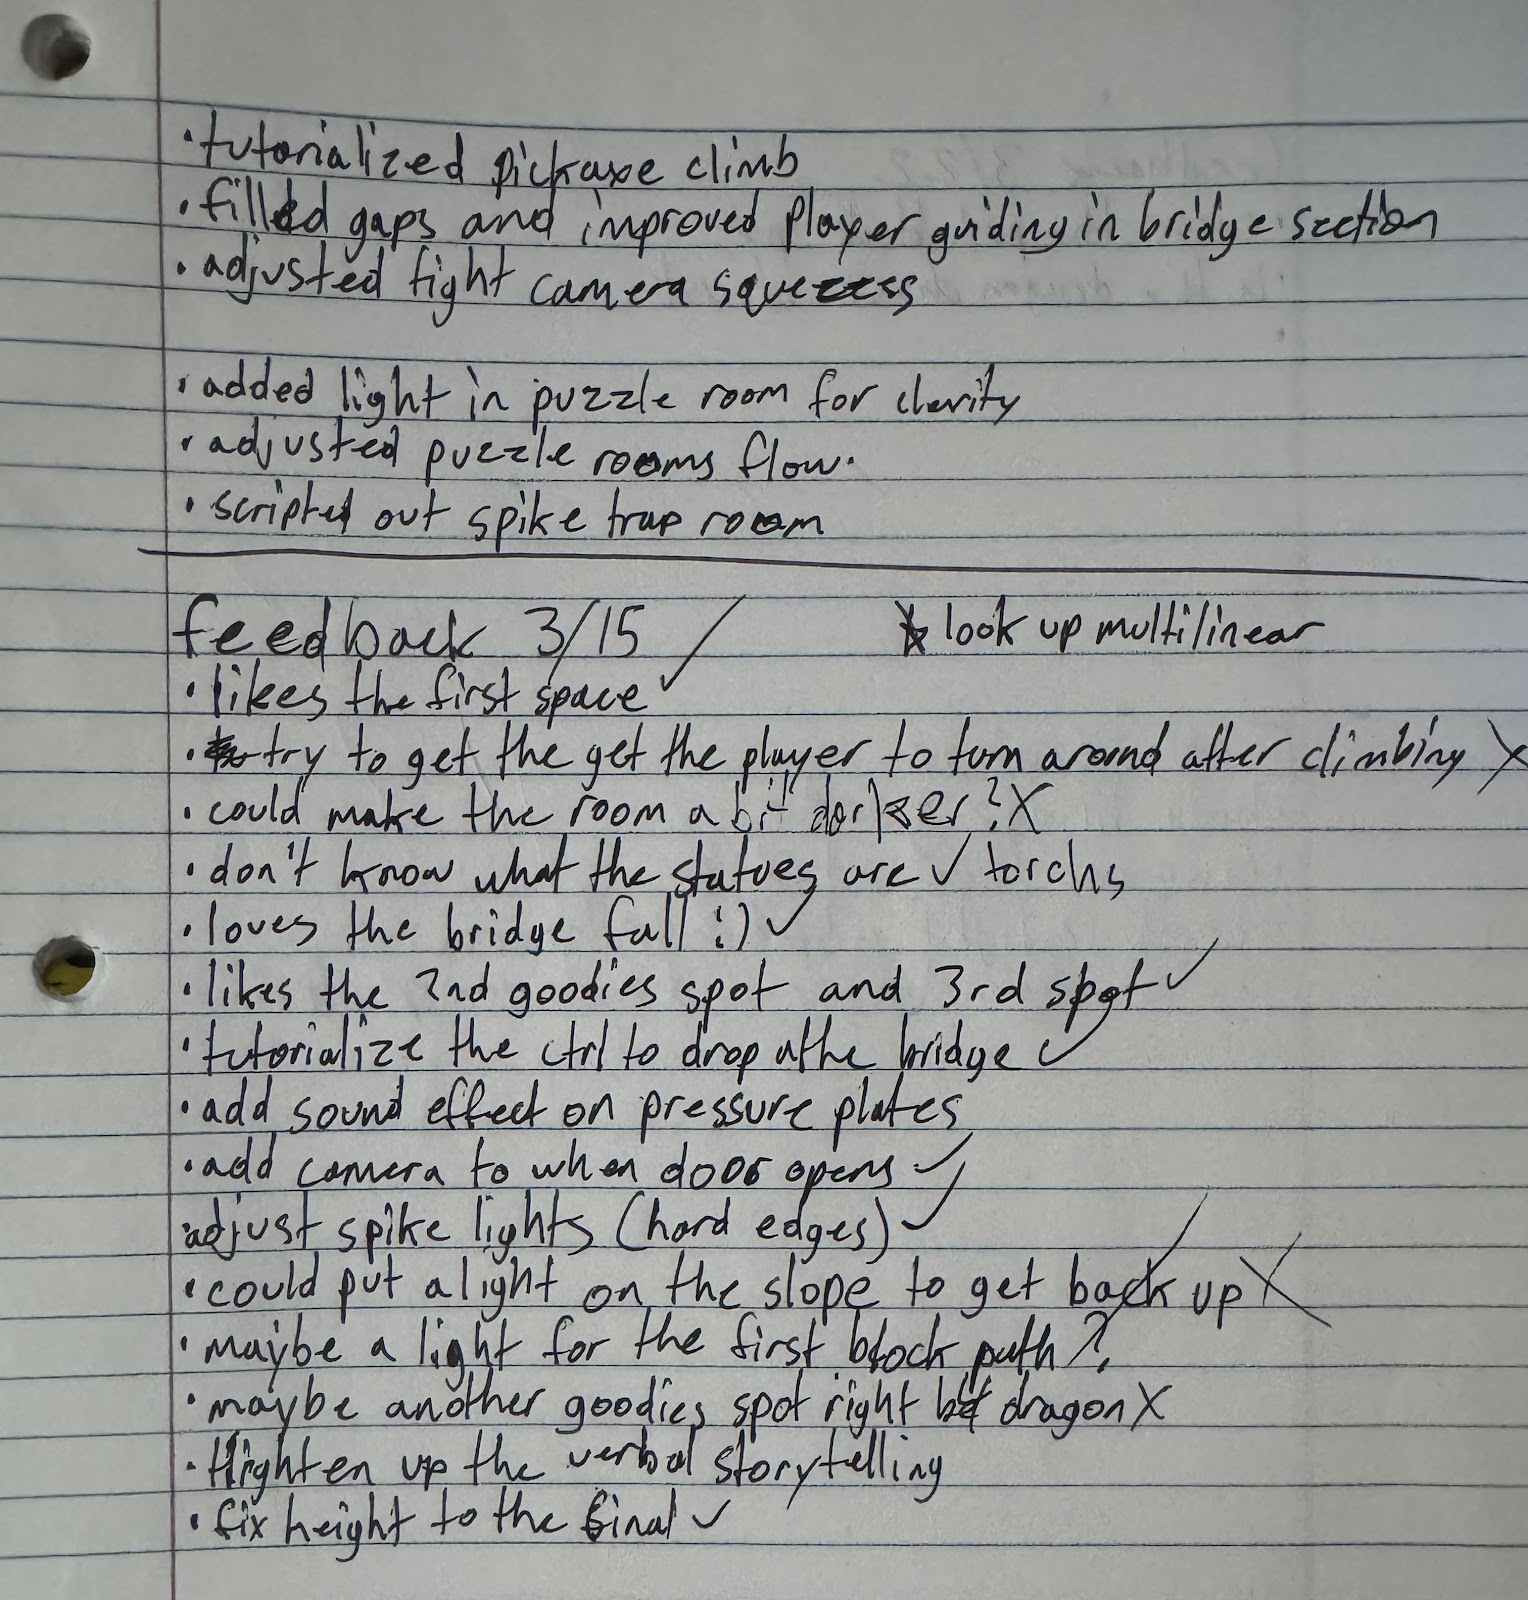
  • Receive feedback upon each major iteration.
  • Iterate and refine the level based on self and peer feedback.

Iterating the blockout:

This project heavily revolved around player feedback. After a wave of iteration, I would regularly meet with peers and mentors to playtest the level and ask specific questions.

  • “Is the level fun?”
  • “What can be improved on?”
After the live feedback session, I would analyze received feedback, and decide action.

Other Iteration Changes

Cut Areas

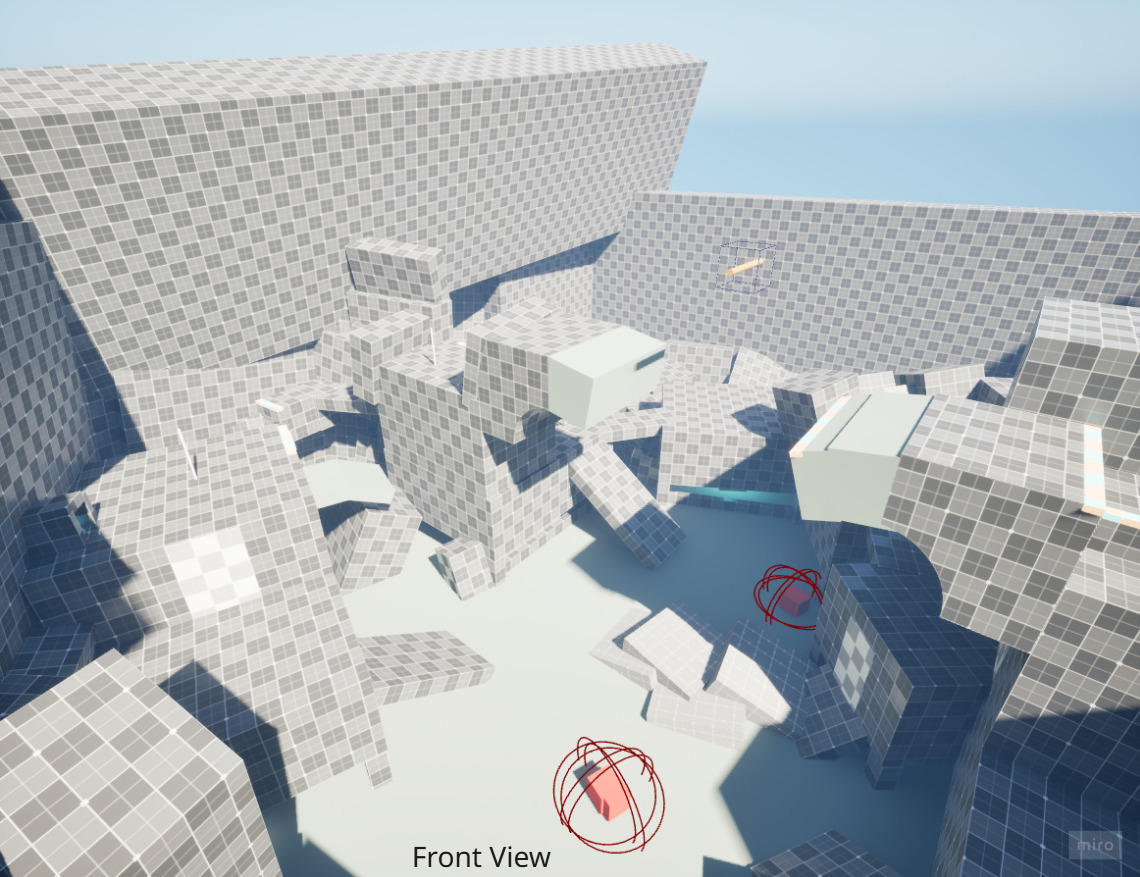
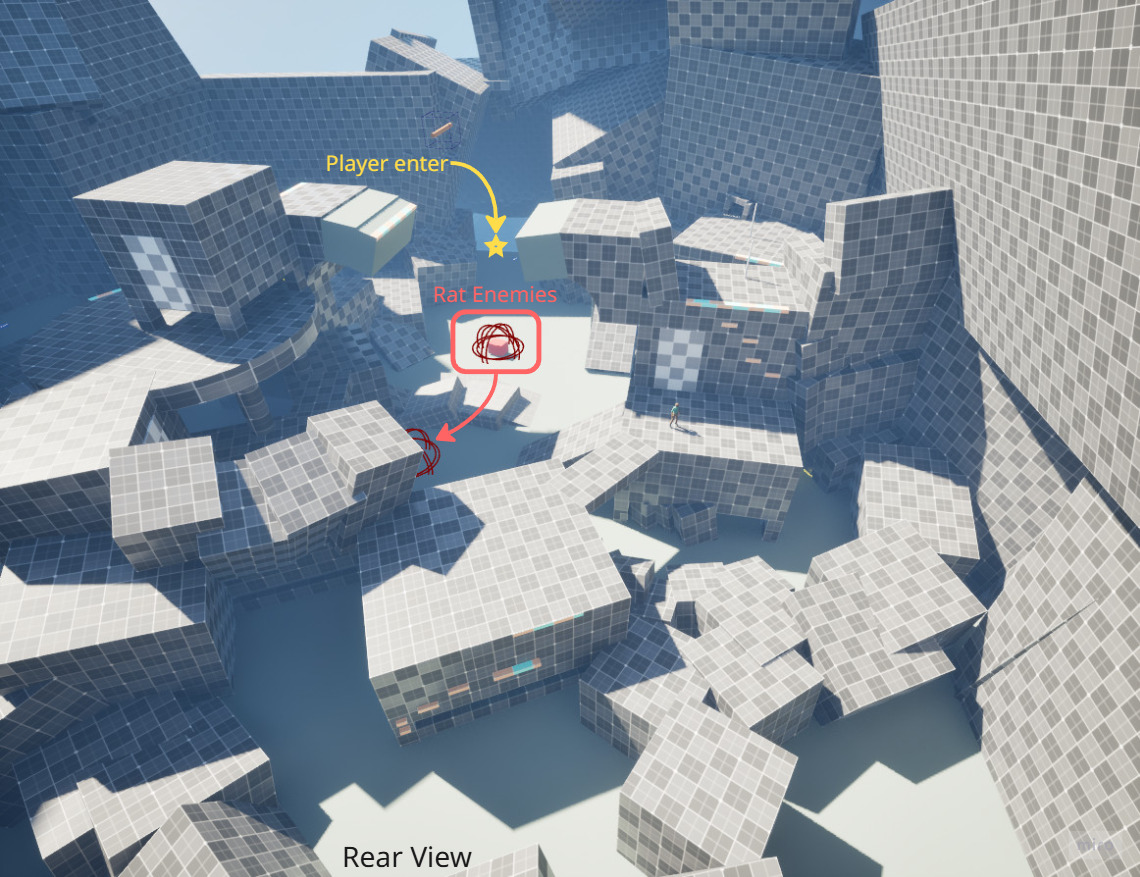
Initially set after the dragon chase sequence, The [shrunken] player would approach an area patrolled by rats to avoid. After passing them, the player falls into a larger space where they have to collect gem shards and avoid patrolling rats.

After the 5th and 6th weeks iterations, I received little positive feedback on this area of the level. It was ultimately cut to uphold the levels strengths.

  • After multiple iterations it was not achieving the desired goal
  • Area felt significantly different from the rest of the level before it.

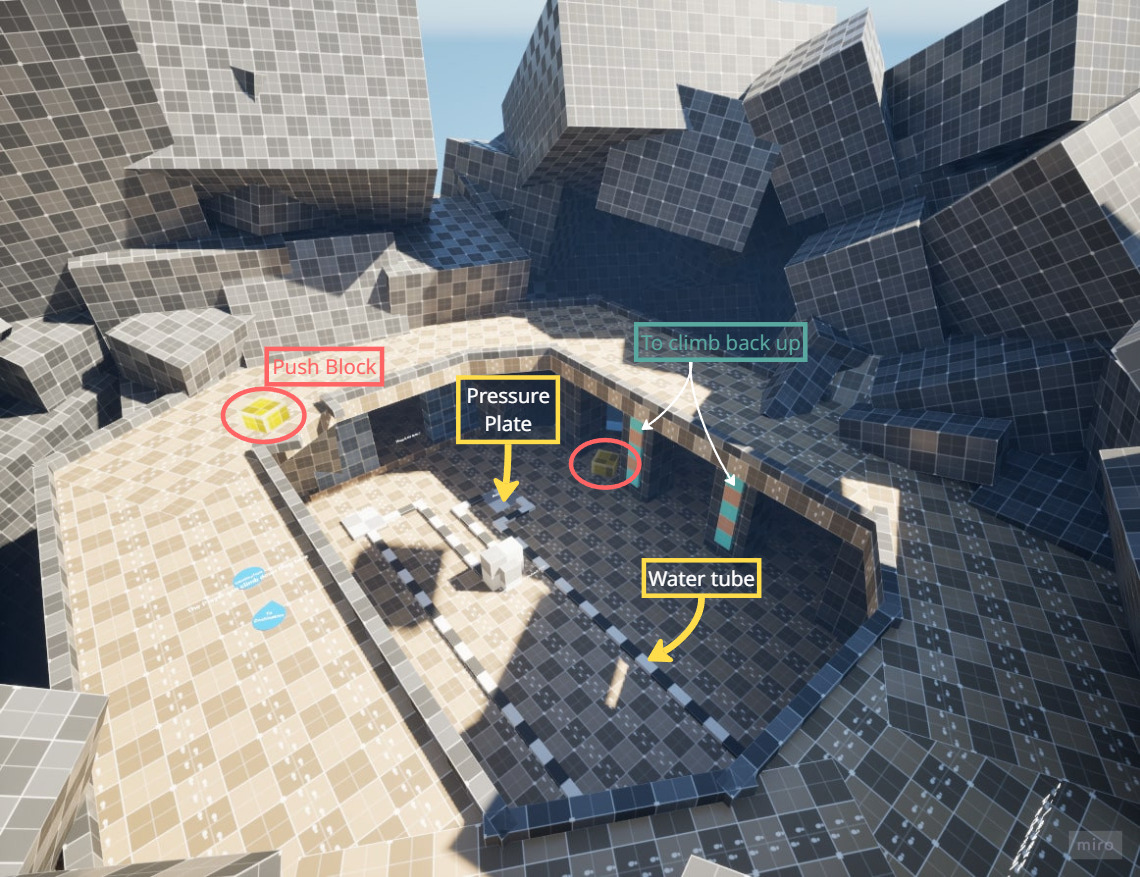
Puzzle Room

The artifact puzzle room as the most challenging area to build and iterate while ensuring it reached my goals

Problem:

  • Too much unused space
  • puzzle set-up felt too complicated
  • room felt cramped

Solution:

  • Used a “round-robin” to use full space
  • Removed water and switches, simplified room goal
  • Added traversal provided better flow

Takeaways

This project helped me realize the flaws i previously had in my design process. What I was doing right, wrong, or could change.

  • Improved Design thinking: I developed a better sense for how to develop a level from paper to the engine
  • Feedback is key!: The feedback i received drastically helped change the level for the better during iteration sprints
  • Core Design Process: I had holes in my personal process that are patched thanks to the mentorship throughout.